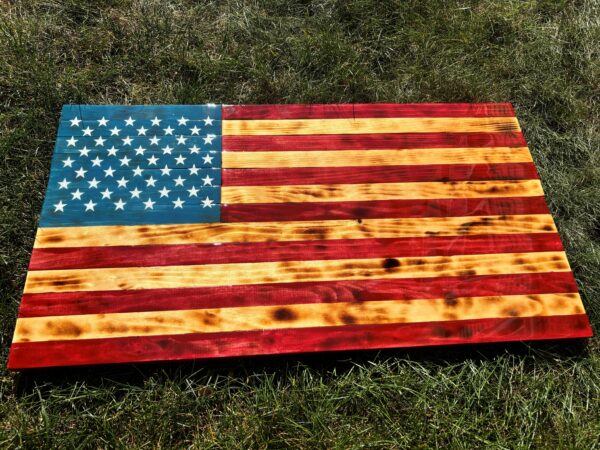
Alright, DIY warriors, we all know there’s nothing quite like the satisfaction of building something with your own hands – especially when it’s a classic wooden American flag. But while carving and staining are where the beauty begins, sealing it with epoxy is where the magic happens! Imagine that glossy, glass-like finish that gives your piece the durability of a tank and the sparkle of fireworks. Ready to make it shine? Let’s dive into this quirky, step-by-step guide on sealing your wooden flag with epoxy!
Step 1: Gear Up!
Before you even think about pouring anything, suit up! Epoxy is amazing, but it’s also a bit sticky and can ruin your day if it goes rogue. Here’s what you need:
- Epoxy resin (a good, high-quality, UV-resistant one)
- Mixing cups (marked for accurate measuring – trust me, you’ll thank yourself later)
- Gloves (epoxy doesn’t love skin contact – and your hands won’t love it either)
- Apron (keep those DIY clothes DIY-able)
- Painter’s tape (for flag border protection)
- Torch or heat gun (to eliminate bubbles – because who wants bubbly patriotism?)
Step 2: Prep That Wooden Flag!
Just like cooking, the secret is in the prep work:
- Sand down the surface – We want this thing to be smoother than an eagle’s glide. Use a fine-grit sandpaper (think 220 grit) to smooth out your flag’s surface. Make sure it’s dust-free and ultra-clean before moving on.
- Protect the edges – Apply painter’s tape around the border of your flag. This keeps the epoxy from dripping off the sides (unless you want that look, which, hey, you do you!).
- Level your workspace – Epoxy is like liquid glass, so it’s gotta stay level or your flag’s going to have waves that are not seaworthy. Use a level to check your work area.
Step 3: Mix the Epoxy (a.k.a. Epoxy Potion)
Time to get serious! Epoxy mixing is part science, part magic. Here’s how to get it right:
- Follow the instructions – Every epoxy brand has its own mixing ratio. Usually, it’s a 1:1 or 2:1 ratio. If you eyeball it, things will get weird, so measure carefully!
- Stir slowly, stir often – Epoxy mixing is not a speed race. Stir slowly to avoid introducing bubbles. Imagine you’re mixing a delicate potion (because you are) for at least 3-5 minutes until it’s nice and clear.
Step 4: Pour It On, Baby!
Time for the main event!
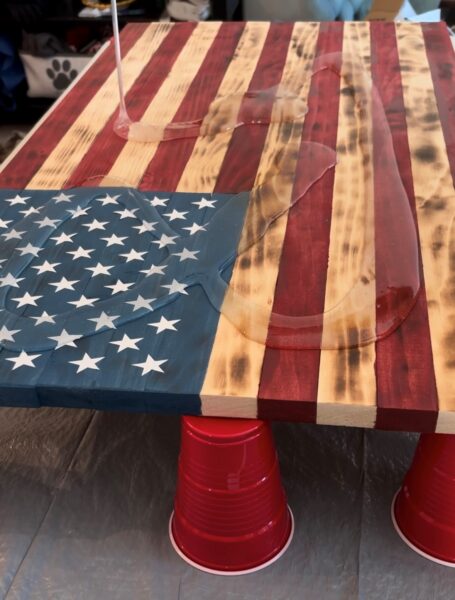
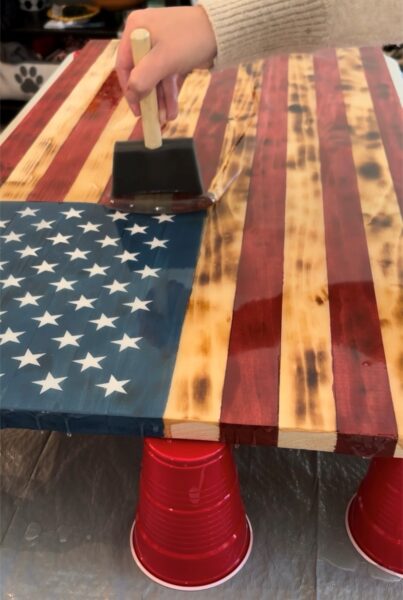
- Pour in stages – Start by pouring a thin layer of epoxy across the flag. Begin from one end and pour in small amounts, letting it spread out like a shimmering river of patriotism.
- Smooth it out – Use a plastic spreader to gently guide the epoxy across the surface. Don’t worry if it’s not perfect – the epoxy will naturally self-level!
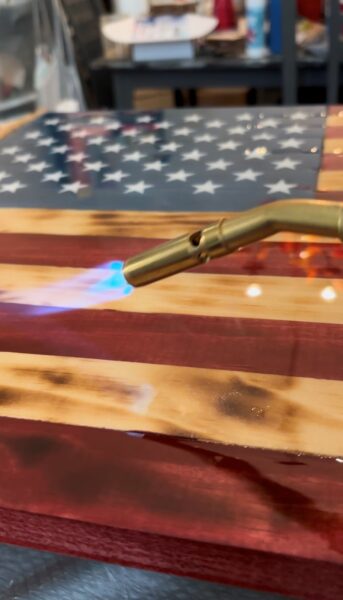
- Torch the bubbles – Say goodbye to those pesky air bubbles by waving a torch or heat gun over the surface. Don’t linger too long in one spot, or you might scorch it.
Step 5: Wait and Repeat
The hardest part? Waiting. You’ll need to let the epoxy cure (24 hours for a tack-free finish and up to 72 hours for a full cure).
After the first layer cures, give it a quick inspection. If you want more gloss or think it could use a bit more epoxy, go for a second layer! Just be sure to lightly sand the cured epoxy with 400-grit sandpaper first, so the second coat can grip on tight.
Step 6: Admire Your Wooden Flag Masterpiece 🎉
After all that hard work, your wooden flag is now a shining beacon of DIY pride! It’s protected from spills, scratches, and even the occasional BBQ sauce mishap. Hang it up, show it off, and bask in the compliments that are definitely coming your way.
And hey, if anyone asks you how you got that high-gloss finish, feel free to give them a wink and say, “Just a little DIY magic.” 🇺🇸✨