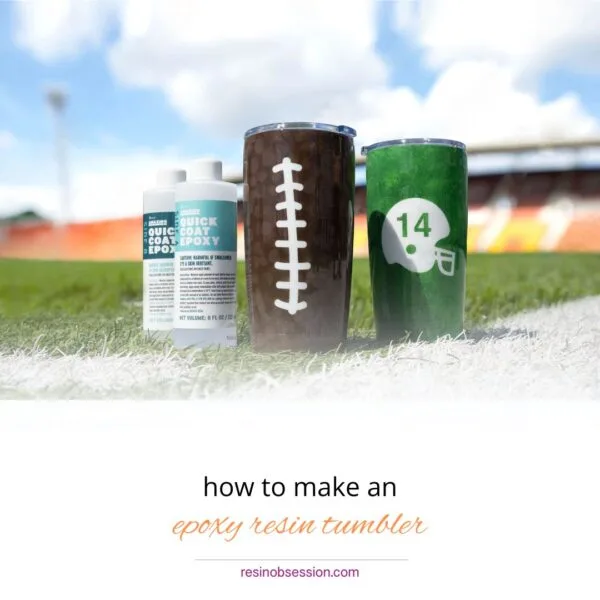
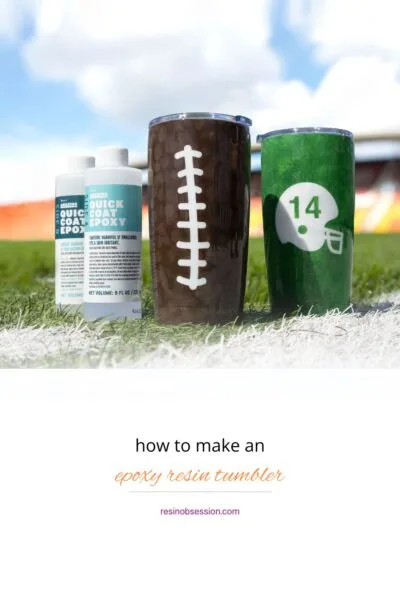
Hello, Crafty Sippers and DIY Divas! Are you ready to transform your ordinary tumbler into a dazzling, personalized epoxy resin tumbler?
This resin project is easy and perfect for those who want to customize their drinkware. Perfect for those warm beach days or those cool October nights. Use any insulated tumbler that you love and personalize the project with your favorite color combination.
Resin supplies needed:
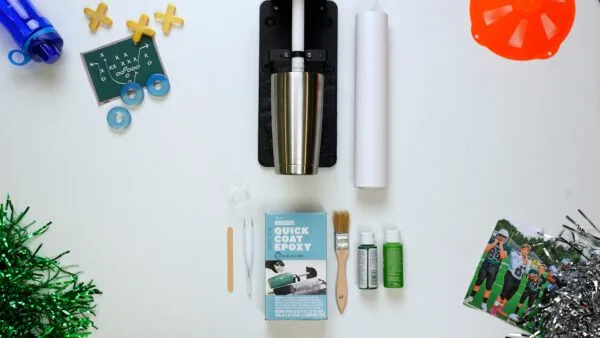
- Insulated tumbler
- Tumbler turner (I am using the Spin It from We R Memory Keepers.)
- Alumilite Quick Coat
- Dyes, Mica Powders, Glitter and other additives
- Mixing cups
- Stir sticks
- Gloves and other protective equipment
- Painter’s tape
- Cardboard or other protective paper
- Craft paint
- Paintbrush
Step 1: Prime Your Epoxy Resin Tumbler
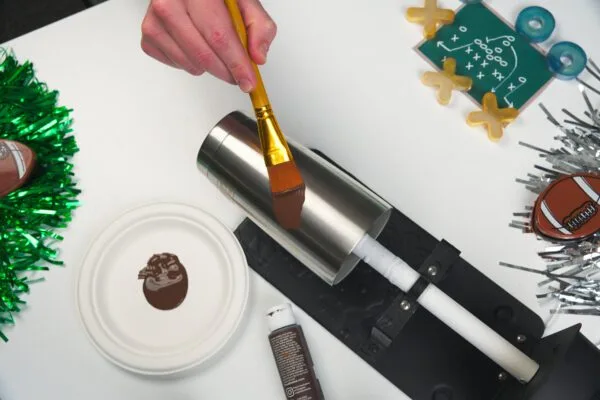
Start by cleaning your stainless-steel tumbler thoroughly with soap and water. Dry it completely and use painters’ tape to cover the rim and any other parts you want to keep resin-free. This step ensures a clean, professional finish and keeps your drinking surface safe.
Paint your tumbler with your desired colors. For this project I’m creating a football inspired tumbler so I used brown, but you can use whatever you’d like!
💡 Pro tip: You can use the tumbler turner for the painting as well as the pouring.
Allow the paint to dry in between coats as well as when you are finished, before adding any resin.
Step 2: Cover your crafting area.
When ready to pour your resin, be sure to cover your area completely because resin will drip off the tumbler.
Step 3: Mix the Epoxy Resin
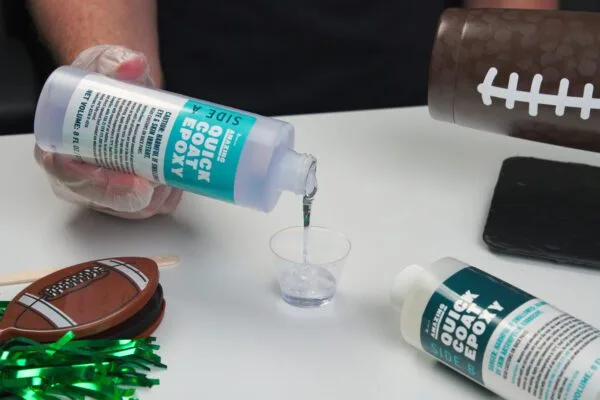
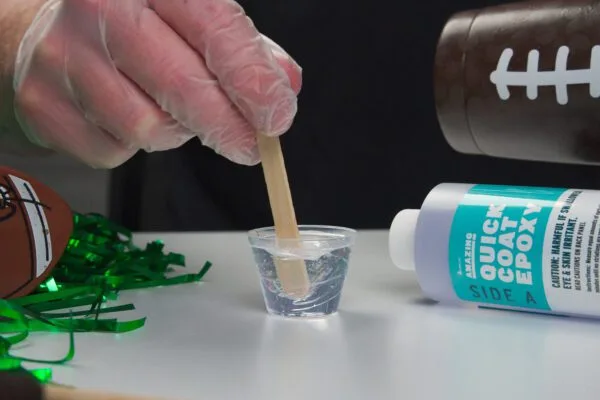
You will want to use a food safe resin. I used Alumilite Quick Coat for this project.
Measure out equal parts of epoxy resin and hardener. Pour them into a mixing cup and stir slowly for about 3-5 minutes. Stirring gently helps avoid introducing air bubbles, and remember, patience is a virtue.
Please always remember to wear safety equipment when working with resin.
If you haven’t mixed resin before, read this first: how to mix resin and hardener.
Step 4: Color the Resin
Divide your mixed resin into smaller cups if you’re using multiple colors. Add alcohol inks, mica powders, or glitters to each cup and stir gently.
You can show off your creativity here. Mix colors to create your own shades. Add glitter for a fun tumbler design.
Step 5: Pour and Spread the Resin
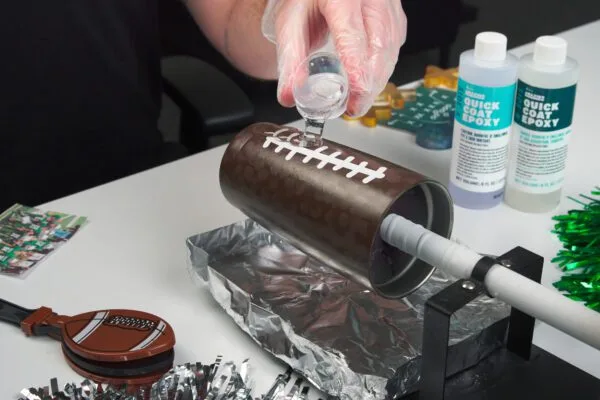
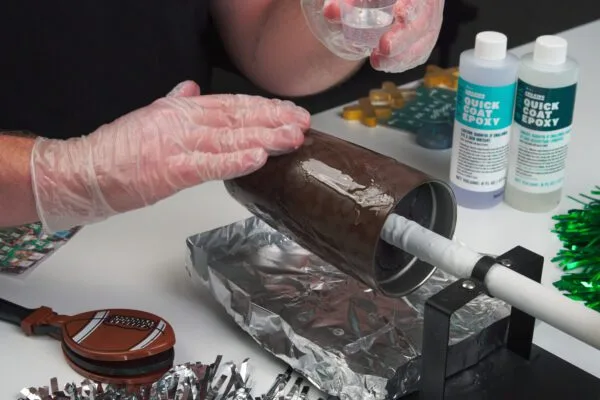
Secure your tumbler on the rotating tumbler turner. Slowly pour the colored resin onto the tumbler while it spins. Use a stir stick to help spread the resin evenly over the sides and bottom. The turner will keep the resin from pooling and dripping, giving you a smooth, even coat.
Step 6: Heat and Pop Bubbles
Use a heat gun or torch to gently heat the resin. This step pops any pesky bubbles and helps the resin settle into a glassy finish. Move the heat source around to avoid overheating any one spot.
Step 7: Let it Spin and Full Cure
Once you’re happy with your design, leave your tumbler on the turner for a few hours to let the resin fully cure.
Pro Tip: Leave some resin in a cup next to your project to monitor the curing process before turning off the turner.
When the resin is thick enough that it doesn’t run, you can turn off your turner but leave the cup in place for the entire cure time. I left mine for about 24 hours, then took it off the turner.
Step 8: Finish

Once the resin fully cures, remove the painter’s tape from the rim and any other protected areas. Give your tumbler a final wipe to remove any residue.
Tumblers coated with resin shouldn’t go in your dishwasher, but they can take a good handwashing any day.
This cup is perfect to keep for gift ideas. I will warn you that resin tumblers are a bit addictive. Such a fun and easy craft plus there are so many ways to make them!
Tips for Epoxy Resin Tumblers:
- Layer Up: For a more intricate design, consider adding multiple layers of resin and color.
- Experiment with Techniques: Try different techniques like marbling, swirls, or even embedding tiny objects.
- Stay Safe: Always work in a well-ventilated area and follow all safety instructions on your resin products.
To try a different epoxy resin tumbler project, here’s how you can add a glittered resin finish to a steel tumbler.
Excited to try making other crafts with resin but worried about making a mistake?
I get it. I’ve been there too. It’s why I wrote the downloadable ebook Resin Fundamentals. It’s helped thousands of other artists worldwide go from confused to confident when creating with resin. Buy your copy of the PDF book now, and it’s ready to download in minutes.
Originally written by Angie Holden
Unpublished Blog Posts of Resin Obsession, LLC © 2023 Resin Obsession, LLC


Looks great.. but wouldn’t you have to allow for the lid to go on? The resin would make it harder.. the room smaller where there lid clips over?
Some cups the lid slips inside and has a lip to keep it from falling in.
Where can I get a spinner? It looks like a valuable tool for resin work. I am in Canada.
Can I resign right on the stainless steel or do I have to paint it? I want to put a decal on the stainless steel and leave the “natural” stainless stainless silver color? Do I need to sand the stainless steel 1st if I don’t paint it? Thanks.
Hi Susie, you can apply the resin directly to the tumbler without painting it first if you like.
If you wanted a decal after this marbling process, could you sand, put the decal on and then another coat of resin (clear, of course)?
Yes Elaine, you can do that.
When I apply the resin it doesn’t come out really smooth. It’s like it is repelled in some places & over thick (kinda wavy) in others. I also can’t get rid of all the bubbles even with a heat gun or torch. What am I doing wrong?
Thanks
Hi Dave, it sounds like you may not be using a doming resin for your project. This is the one I like to use to coat tumblers: https://shop.resinobsession.com/collections/resin/resin-obsession-crystal-doming-resin
How can I prevent things from sticking to the resin during the curing process? I don’t know what else to do… I cover them with boxes and they still manage to catch dust particles in the air. I currently have a cured bottles and it caught dust particles…is there anyway I can fix this?
Hi Sofia, I’m sorry this is happening to you. It sounds like you need to check on your pieces towards the end of the pot time to check for stray hairs and dust. I also find it helps me to work in a room that no one else visits, especially anything furry!
You missed a step. ALWAYS wear a respirator mask while working with resin. Resin releases HIGHLY toxic vapors while pouring and while it’s curing. If you do a quick YouTube search you will find tons of stories about people getting seriously sick from working with resin regularly because they weren’t wearing a mask, gloves, and non-ventilated room.