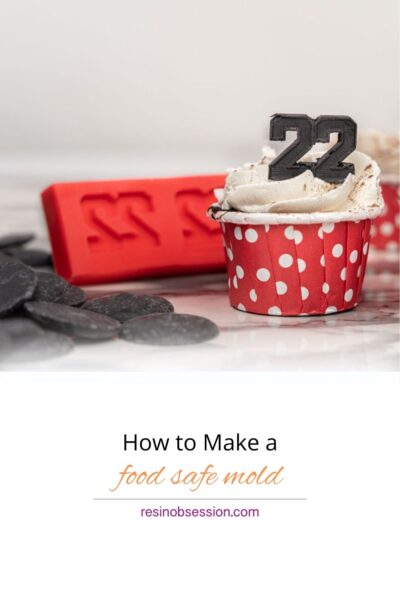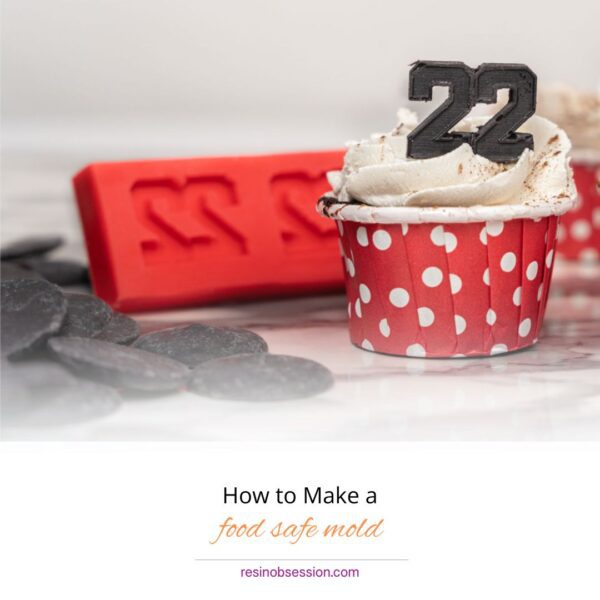
Hey there, Kitchen Crafters and Culinary Creators! Ever dreamt of making your own funky-shaped chocolates, adorable ice cubes, or custom gummy bears? Well, guess what? You can bring those dreams to life with your very own food safe molds! Today, our good friend Samantha is showing the delightful world of mold making—a place where creativity and practicality meet, making your kitchen adventures even more fun. So, put on your chef’s hat and let’s get molding!
What You’ll Need: Your Mold-Making Toolkit
- Food Safe Silicone: We are using Food-Safe Cast-a-mold Platinum from SRC with an easy 1:1 mix ratio
- Mixing Cups and Sticks: To concoct your silicone potion.
- Objects to Mold: Your favorite toys, figurines, or even a unique leaf—anything goes!
- Mold Box: To hold your silicone and object while it sets.
- Adhesive: To secure your items to the mold. It can be done with hot glue, adhesive putty or dots, etc.
- Gloves and Apron: Because things are about to get delightfully messy.
Step 1: Mix the Food Safe Silicone
Measure out equal parts of food safe silicone. Pour Part A and Part B into a mixing cup and stir slowly with a stick. Mix like you’re folding egg whites into a soufflé—gently but thoroughly. Stir until the color is uniform, and you feel like a wizard brewing a potion.

Step 2: Gather Your Molding Marvels
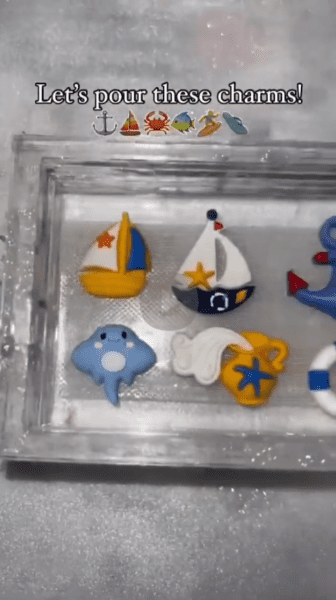
Gather the objects you want to transform into food-safe molds. Think beyond the usual—tiny dinosaurs, starfish, and even that cute button from your favorite jacket. Make sure these objects are clean and dry.
Step 3: Grab Your Mold Box
Next, you’ll need a container to hold your silicone and the object. Once you have your mold box, arrange your charms of choice! It’s a good idea to secure the master object(s) in the mold box, sometimes items will float to the top. It can be done with hot glue, adhesive putty or dots, etc. Just ensure your mold box large enough to fit your objects with some extra space around the edges.
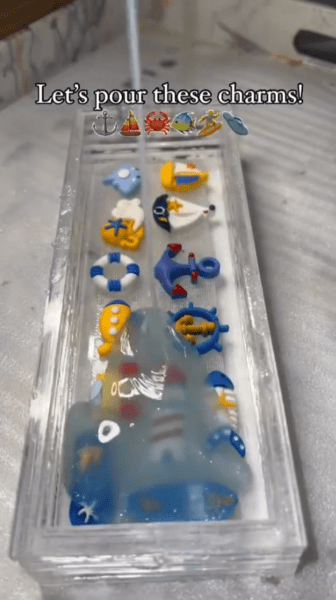
Step 4: Pour the Silicone
Carefully pour the mixed silicone over your object in the mold box. Pour from one corner to minimize bubbles. Let the silicone flow over and around the object, filling every nook and cranny. Tap the mold box gently to release any trapped air bubbles. This is your mold’s spa moment.
Step 5: The Waiting Game
Let your silicone mold cure fully overnight. Use this time to whip up some cookies, catch up on your favorite show, or dance around your kitchen—waiting is hard, but so worth it!
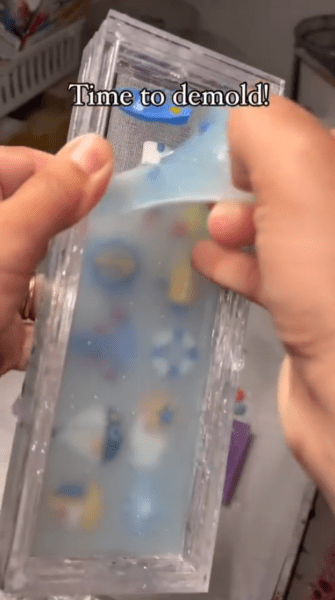
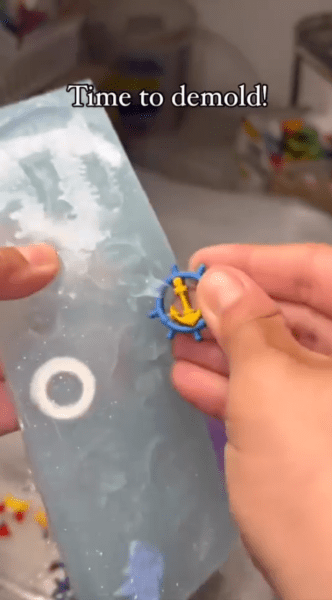
Step 6: The Big Reveal
Once the silicone is fully cured, it’s time for the grand unveiling. Carefully remove your mold from the box and gently peel the silicone away from your object. Voila! You’ve just created a custom, food-safe mold that’s ready for culinary magic.
Step 7: Put your Food Safe Mold to the Test
Now comes the fun part—testing your new mold! Pour melted chocolate, gummy mix, or even freeze some funky-shaped ice cubes. Once set, pop them out and marvel at your mold-making creations! Enjoy the sweet (or icy) rewards of your hard work.
Bonus Tips for Mold Mastery:
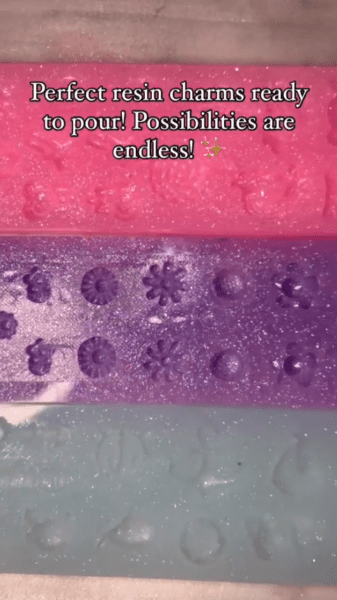
- Multiple Molds: Create a variety of molds for different shapes and sizes—your kitchen will be the envy of all your friends.
- Flavor Fun: Use your molds to create flavored butter, custom popsicles, or even quirky-shaped jellies.
- Storage: Keep your molds clean and dry for longevity. Store them flat to avoid warping.
- Check out more silicone mold tips and tricks here
Reminder:
*If you ever use a DIY mold for resin, you can no longer use it for food. Keep food molds for food only, resin molds for resin only*
Making your own food-safe molds isn’t just about utility; it’s a delightful blend of art and science that adds a splash of creativity to your culinary adventures. So, gather your supplies, unleash your imagination, and get ready to mold your way to kitchen stardom. Happy crafting and even happier munching! 🍫🍬🍧
Big shout out to Samantha for showing us how to create this amazing food safe mold! Give her a follow-on Instagram @samanthassiliconegallery