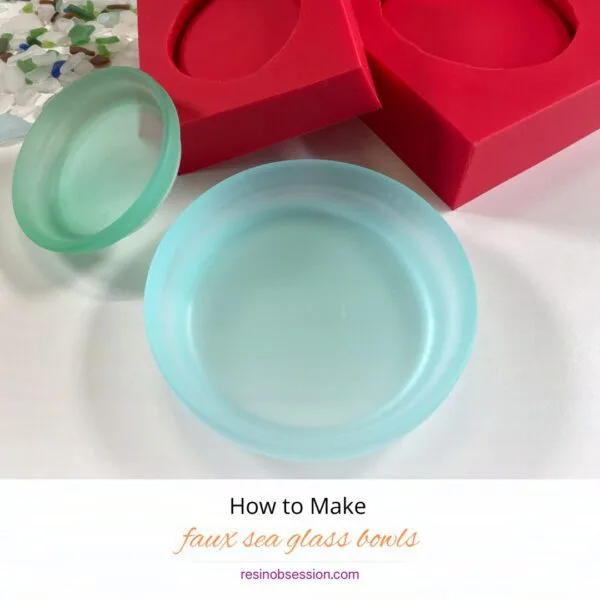
Hello, Beachcombers and Crafty Creators! Ever wished you could bottle up the magic of the seaside and bring it home with you? Well, grab your flip-flops and crafting gloves, because today we’re going to dive deep into the world of epoxy resin to create stunning sea glass bowls! These bowls will add a touch of coastal charm to your space, making you feel like you’re at the beach all year round. So, let’s ride the creative wave and get started!
What You’ll Need: The Beachy Craft Kit
- Epoxy Resin and Hardener: The magic duo that transforms into crystal-clear “glass.”
- Mixing Cups and Sticks: For stirring up your resin concoction.
- Protective Gear: Gloves and apron, because crafting is fun, but sticky hands are not!
- Bowl to Mold: Your canvas for crafting those beachy beauties.
- Mold Maker: To create custom molds if you want to go extra fancy with shapes.
- Hot Glue: To get that bowl nice and stuck
- Foam Board: To create your mold dam
- Alcohol Inks or Resin Dyes: In sea glass colors like aqua, teal, and soft greens.
- Sandpaper or Buffing Pad: To give your “sea glass” that frosted, wave-worn look.
- Heat Gun or Torch: To zap those pesky bubbles.
- Optional: Shells, small pebbles, or beachy trinkets for extra flair.
Step 1: Set Up Your Crafty Shoreline
Transform your workspace into a seaside crafting haven! Cover your table to catch any drips and suit up with gloves and an apron—because the only thing that should get messy is your beach hair, not your clothes!
Step 2: Make Your Mold Dam:
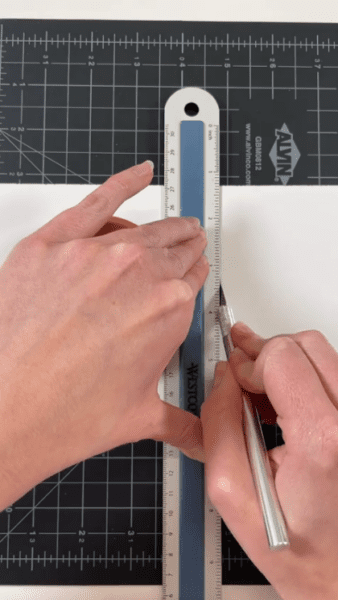
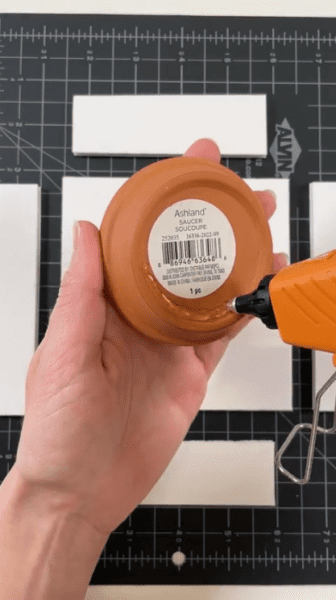
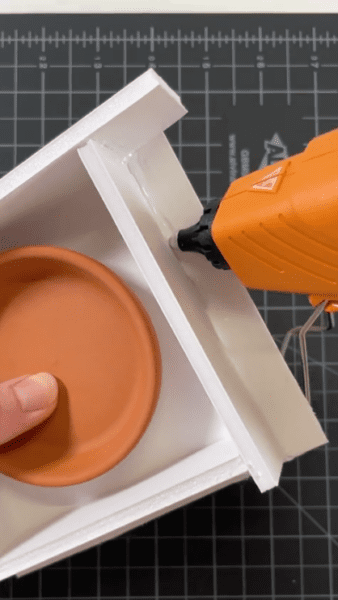
Start by cutting pieces of your foam board to create a box around your bowl mold off choice. Glue your bowl that you are going to mold onto one of the pieces of foam. Then build the walls around the bowl making sure to seal all of the edges.
You don’t want any mold maker sneaking out!
Step 3: Mix Your Mold Maker
Gently mix your Amazing Mold Maker according to package instructions.
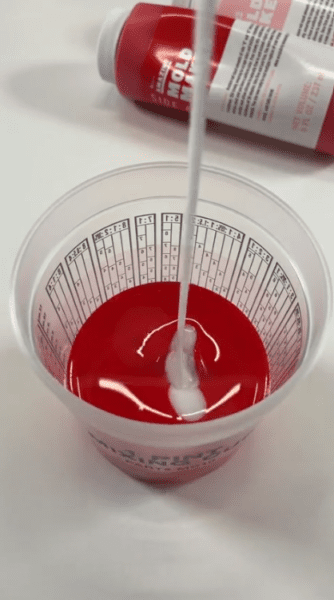
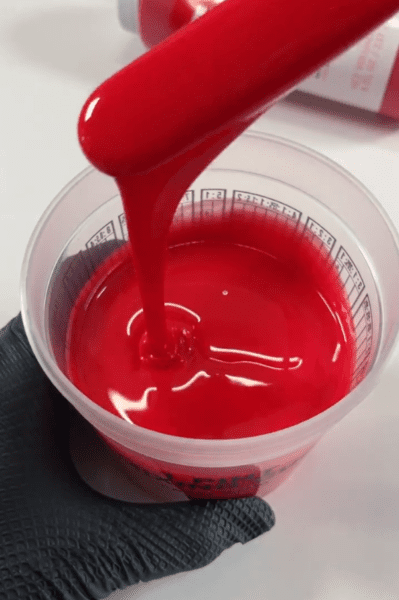
Step 4: Pour Your Mold Maker
Pour the mold maker slower into your mold dam you created. You want to completely cover your bowl to create the perfect mold!
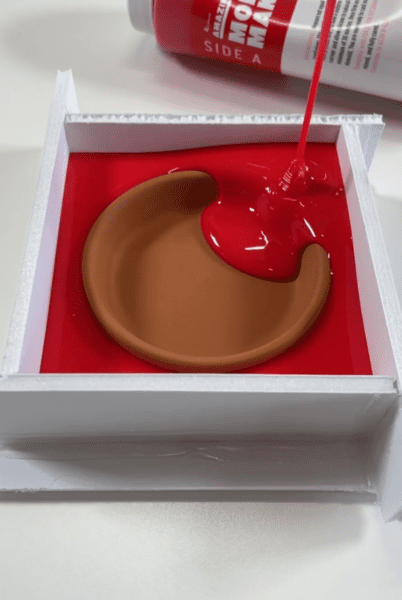
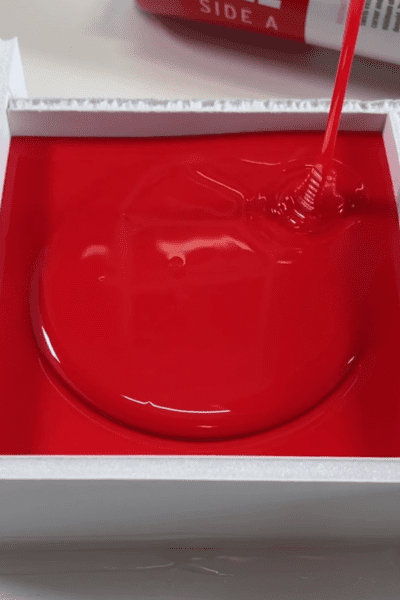
Step 5: Demold Your Bowl
Once your mold is fully cured, slowly demold your bowl. Pull away your foam boards slowly to ensure you don’t rip or damage your new mold.
*Use an exacto knife to clean up the edges and remove excess material.
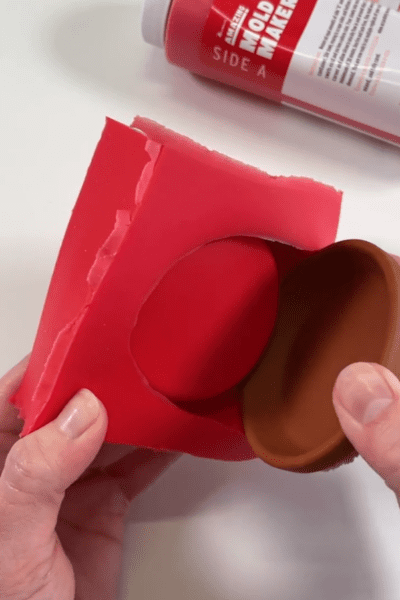
Step 6: Mix the Epoxy Resin
Measure out equal parts of epoxy resin and hardener according to the instructions on your bottles. Pour them into a mixing cup and stir slowly for about 3-5 minutes. Stir gently, like you’re swirling your toes in the sand—smooth and steady wins the race!
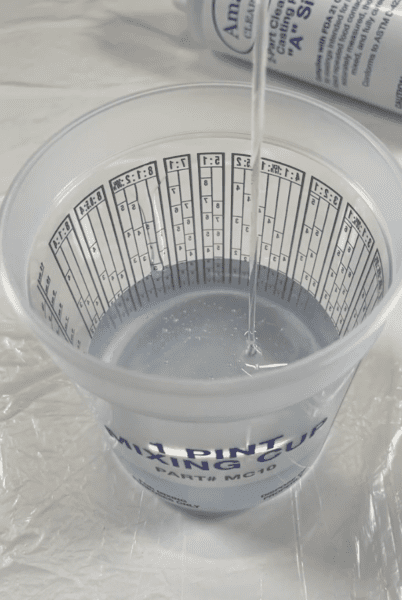
Step 7: Add Some Ocean Hues to Your Sea Glass Bowls
Divide your mixed resin into smaller cups if you’re planning on using multiple colors. Add alcohol inks or resin dyes in shades of aqua, teal, and soft greens to each cup. Stir gently and watch as your resin transforms into the colors of the sea.
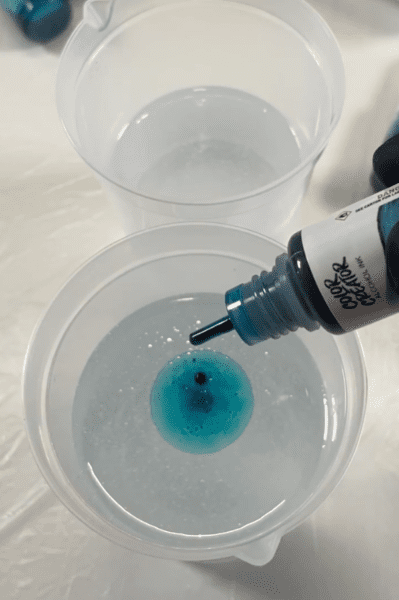
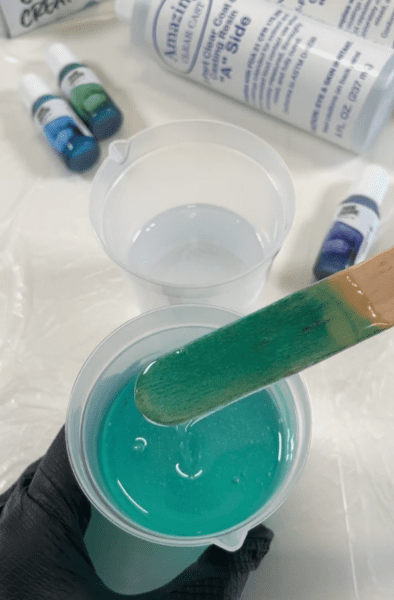
Step 8: Pour and Create Your Sea Glass Bowl
Pour the colored resin into your silicone bowl mold, letting the colors swirl and blend naturally—just like waves meeting the shore.
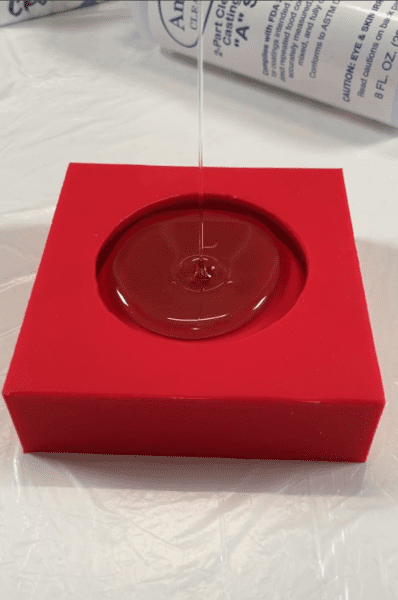
Step 9: Let Your Sea Glass Bowl Cure
Leave your resin to cure around 24 hours. This is the perfect time to take a beachy break—sip on some coconut water, dream of your next seaside adventure, or plan your next craft project.
Step 10: Reveal Your Sea Glass Bowl
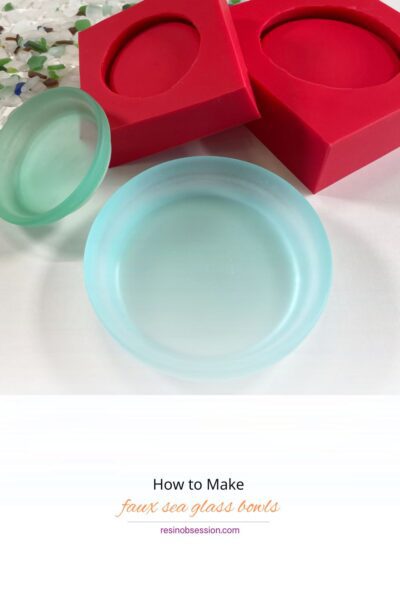
Once the resin is fully cured, gently pop your bowl out of the mold. Now comes the fun part—transforming your glossy resin into frosted “sea glass.” Use sandpaper or a buffing pad to lightly sand the surface, giving it that wave-worn, beachy finish. If you want to get fancy, you can even add a few shell or pebble accents!
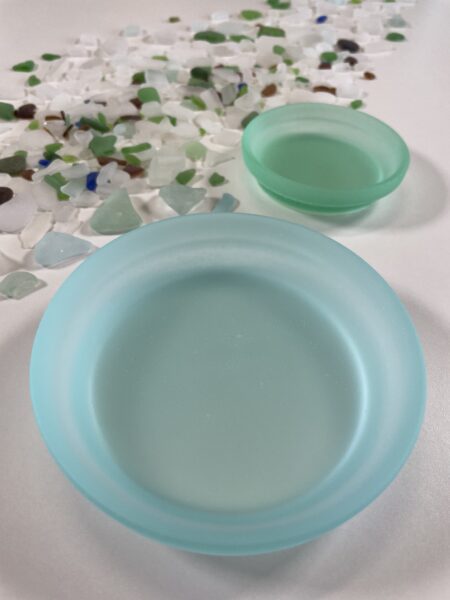
Bonus Tips for Beachy Brilliance:
- Experiment with Layers: Add layers of different colors for a more complex, wave-like effect.
- Embellish Your Bowl: Incorporate tiny shells, pebbles, or even a sprinkle of beach sand into the resin for extra coastal charm.
- Keep it Safe: Always work in a well-ventilated area and follow all safety instructions on your resin products.
- Care of your Mold: Keep your mold lasting longer by taking care and cleaning it properly.
Creating your own epoxy sea glass bowls is a fun and breezy project that brings a piece of the ocean into your home. Whether you’re using them as decorative pieces, trinket holders, or just as a reminder of your favorite seaside getaway, these bowls are sure to add a splash of coastal charm to any space!


I love that beach glass look, I’m definitely going to try it, thanks
Yes!! Let us know how it goes!!