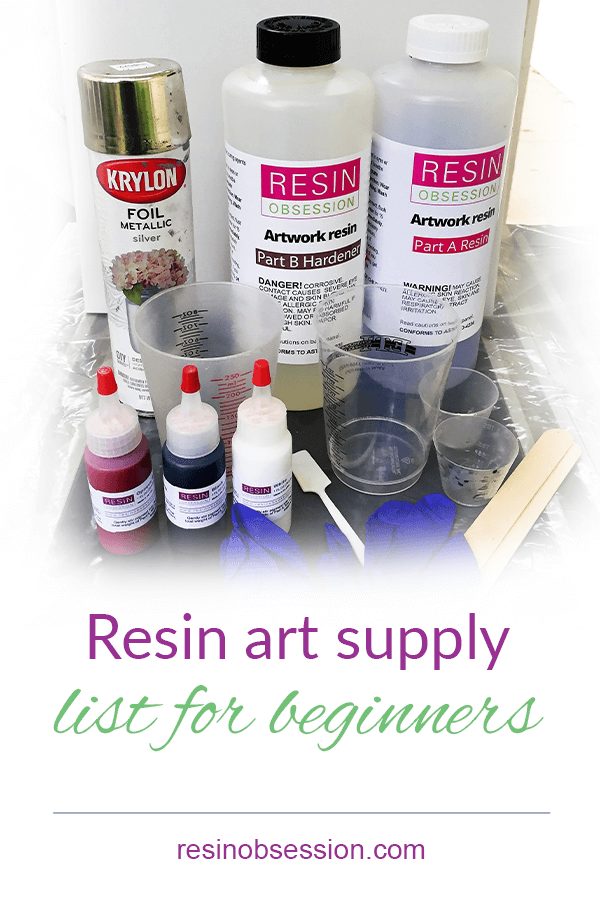
Here’s what you need to make your first resin painting:
1. Resin Obsession self-leveling epoxy resin for art
2. Mixing cups
3. Stirring sticks
4. Resin colors
5. Heat gun
6. Painting surface
7. Painter’s tape
8. Table
9. Plastic cups or risers
10. Level
11. Plastic drop cloth
12. Paper towels
13. Acetone or rubbing alcohol
14. Box or plastic bin larger than your painting surface
15. Safety gloves
What else besides supplies should beginners know about making resin art?
Is the resin you use important?
Absolutely. Because creating resin art involves pouring mixed resin onto a flat surface, you need to use a resin formula that will evenly cover a surface without leaving holes or fish eyes.
Best resin for art
- Combines 1 to 1 by volume
- Mix between 3 ounces and 1 gallon at once
- Locks in colors
- Short working time, so you don’t have to wait long for the resin to thicken (meaning your colors and patterns won’t get muddy-looking)
Now that you’ve got the resin, you need mixing cups and stirring sticks to go with it. When I’m troubleshooting sticky resin problems, the majority of the time, it comes from incomplete mixing. That’s why you need the best resin tools to make your resin art.
⭐️ BONUS: if you’re new to creating epoxy art, this article shows you how to mix resin in five easy steps.
Can you reuse my mixing cups and tools?
Once you’ve finished using your mixing supplies, you can wipe them off with a paper towel and reuse them. If they aren’t cleaning up quickly, apply acetone or alcohol to the paper towel, then wipe again.
If your resin is curing and doesn’t come off easily, just wait. Let the resin cure, then flex the cup or stick. If you’re lucky, the resin will pop off like a skin that you can peel off the surface, allowing you to use the items again the next time you make resin art.
Can you use anything to color resin?
Unfortunately, no. Resin hates water, so any excess moisture in the mixed resin can cause it to cure soft or may cause it not to cure at all. You will get your best results with colors for epoxy resin as they’ve been formulated to avoid these problems. I also like to use resin colors because I can count on the same color every time I use them.
Does that mean you should never use anything but resin colors?
No, in fact, experimenting with your supplies is one of the fun things about encouraging beginners to make resin art. You simply need to expect that something may not go well, and you might be unhappy with the results.
⭐️ BONUS: Here are more tips on how to color clear epoxy.
How do you get rid of resin bubbles?
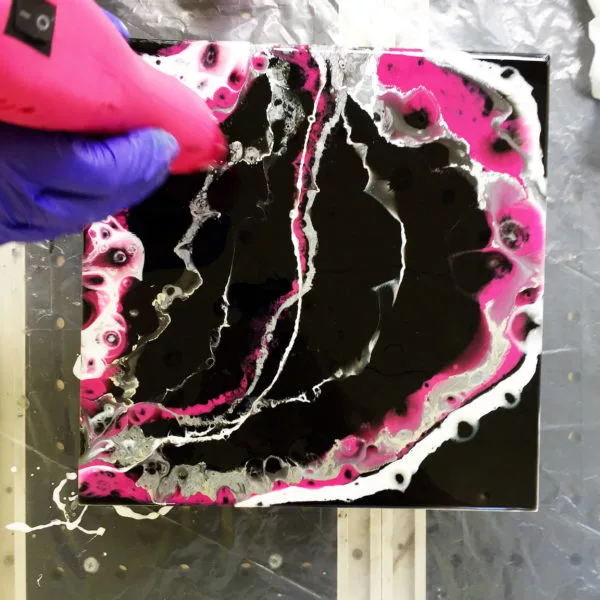
Once the resin is on your surface, go over it with a heat source to pop the surface bubbles. A heat gun works great for this. Plus, it’s fantastic for pushing colors around on your painting surface.
💡 Pro tip: If you’re careful in mixing, you will prevent a lot of bubbles. Don’t whisk or whip your resin. Be thorough but gentle.
What should you use for your painting surface?
There are a ton of choices for resin art surfaces. The most popular and easiest-to-use option is a cradled wood board. You don’t have to worry about the painting sagging in the middle, and it will be the easiest to hang once your painting cures.
💡 Pro tip: A way for beginners to save money with their art supplies is to use ceramic tiles for resin painting. They’re great for practicing and cost under $1.
What do you do with the sides and underneath while you’re pouring the resin?
Before you ever paint, apply painter’s tape to your art surface’s sides and bottom edge. Once your resin cures, peel the tape away. Otherwise, the resin drips will permanently stick to your painting substrate. You’ll have to sand them off or be annoyed there are a bunch of drips on the back of your painting.
Where should you create my resin art?
You need an area where you can place a table that’s large enough to hold your work and stay undisturbed for 24 hours. The surface also needs to be level; otherwise, your resin won’t flow evenly.
💡 Pro tip: You may be able to use your smartphone as a level.
Some resin will drip off the side of your art. That’s why you need something to elevate the surface. Cheap plastic drinking cups work for this.
Since resin tends to drip everywhere (especially when beginners create with it), a drop cloth is one of those essential art supplies. Not only will you want one to cover your table, but you should have one under your table too. Also, if you invest in a thicker cloth, you will likely be able to use it several times as cured resin peels right off!
You’ve poured my resin. Now what?
Protect it from dust and dirt. A plastic bin or large box can work to cover your art. Be sure everyone else knows not to touch it for the next day. They will have to wait like you are to see how it turns out.
How do you keep myself safe while creating my art?
Protective gloves are necessary supplies for beginners to resin art. They will protect your hands from sticky resin. Good room ventilation is also vital to move chemical smells away from the area.
⭐️ BONUS: Here are more resin safety recommendations.
Don’t forget to get your downloadable resin painting supplies list so you can easily head over to the Resin Obsession store and get what you need.
Want more help getting started resin painting?
It’s why I wrote the ebook Resin Fundamentals. I’ve condensed my seventeen years of resin experience into an easy-to-read PDF book you can have access to in minutes. Instead of spending your time and energy on making mistakes, read the book to avoid resin beginner pitfalls.
Unpublished Blog Posts of Resin Obsession, LLC © 2023 Resin Obsession, LLC


