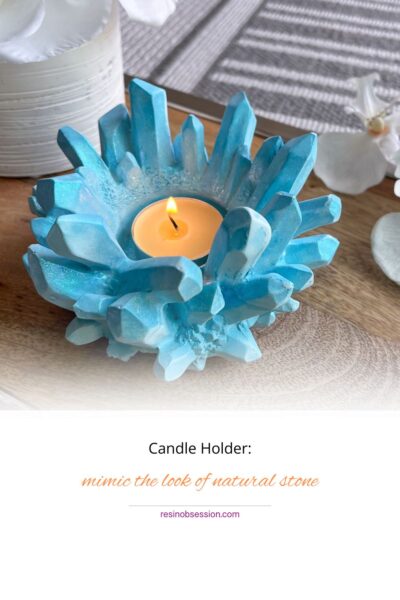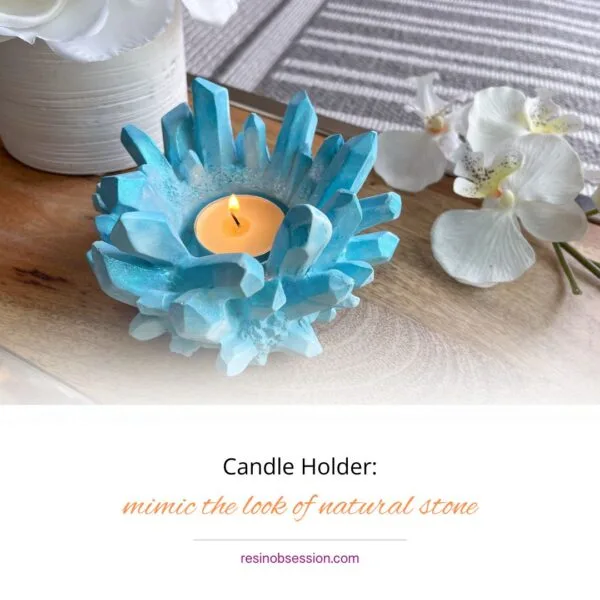
Hey, craft enthusiasts! 🖌️✨ If you’re looking to create a unique, mesmerizing centerpiece for your living room or just want a relaxing project to get those creative juices flowing, then you’re in the right place! Today, we’re diving into the delightful world of epoxy and making a one-of-a-kind candle holder. Because let’s be honest—candlelight dinners, Netflix marathons, and that “I’m fancy, and I know it” vibe all deserve a statement piece. Ready? Let’s go!
🌟 What You’ll Need:
First things first—gather your supplies! You don’t want to be halfway through your pour and realize you’re missing that glitter that makes everything pop. Here’s your checklist:
- Alumilite HydroCast (duh, can’t do this without it)
- Silicone Mold for Candle Holders (choose one that’s fire-safe and the shape you like—cylinder, hexagon, or something wild!)
- Mixing Cups & Stir Sticks (and maybe some gloves unless sticky fingers are your thing)
- Pigments, Dyes, or Alcohol Inks (we want color, lots of it!)
- Glitter, Mica Powder, or Dried Flowers (for that little something extra)
- Butane Torch (goodbye, bubbles!)
- A Centering Rod (optional, if your mold doesn’t have a built-in hole for the candle)
Got everything? Awesome! Now let’s break it down step-by-step:
Step 1: Prep Like a Pro
Before you jump into the fun part, prep your workspace. HydroCast has a tendency to get everywhere. Lay down some parchment paper or a silicone mat, and make sure your mold is clean, dry, and dust-free.
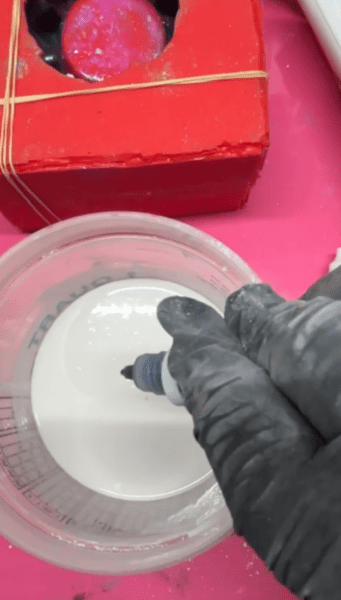
Step 2: Mix It Up!
Now for the science-y bit! Mix your HydroCast. HydroCast’s 3:1 mix ratio provides a sustainable alternative to traditional resins. This mineral-based material effortlessly mimics stone’s appearance, composed of a casting compound and acrylic hardener for simplicity and sustainability combined.
If you’re adding pigments, dyes, or glitter, separate your resin into different cups and mix in your colors. Go crazy! Swirl, layer, or keep it simple—it’s your masterpiece. Want a classy marble effect? Try adding white mica powder and gently swirling with a toothpick.
Step 3: Pour Your Candle Holder
Here’s where the magic happens. Pour your HydroCast into the mold slowly. If your mold has a built-in rod for a taper candle, make sure you’re pouring evenly around it. No rod? No problem! You can always drill a hole for your candle later, or leave it as-is for tea lights.
Feel free to layer your colors!
Pro tip: When layering colors, wait 5-10 minutes between pours to get that gorgeous separation without the colors blending.

Step 4: Set and Forget Your Candle Holder
Now the hardest part—waiting. 😩 Set your mold aside in a dust-free area, cover it loosely with a box or a plastic container, and let it cure for at least 24 hours. This is a great time to binge-watch your favorite series (or obsessively peek every hour to see if it’s done).
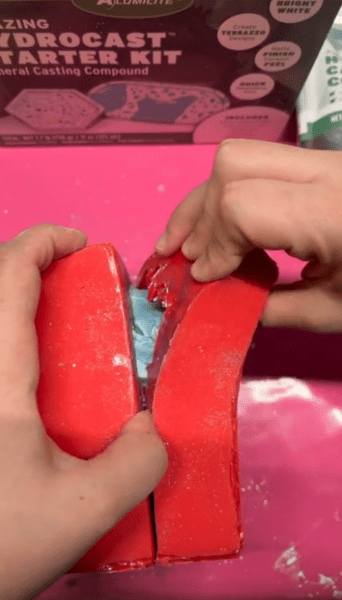
Step 5: Reveal Your Candle Holder
Once your candle holder has cured, it’s time to demold. Gently flex the silicone to release your masterpiece. If the mold is being stubborn, try a little soapy water around the edges. Ta-da! Your gorgeous candle holder is free!
Step 6: Finishing Touches
If you want to go the extra mile, you can sand the bottom to make it perfectly flat. Don’t forget to clean up any stray bits around the candle hole with a small file.
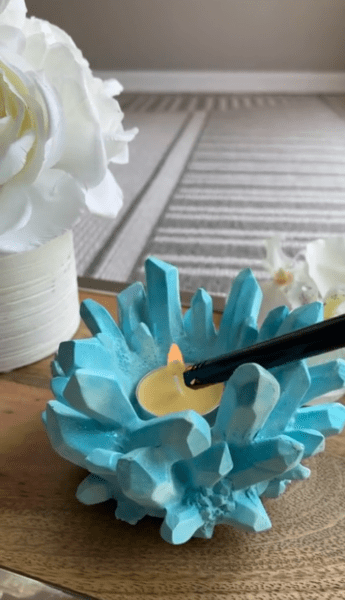
Step 7: Insert Candle, Admire, and Brag
Pop in a candle, light it up, and bask in the glory of your own creation! Show it off to your friends, family, or your cat—who might not care but you know it’s awesome.
Tips & Tricks for the Perfect Candle Holder:
- Go Bold with Color: If you want those vibrant hues, mix in a bit more pigment than usual.
- Embedded Elements: Dried flowers, gold leaf, tiny charms—get creative! But remember, heavier items can sink.
- Level Surface: Keep your mold on a level surface when curing, unless you’re into avant-garde slanted candle holders (no judgment).
And there you have it! A stunning candle holder that’s 100% YOU. Whether it’s glowing softly on your dining table or gracing your bedside for those cozy nights in, you now have a handmade piece that’s as unique as your creative spirit. So grab those candles, turn down the lights, and let your new candle holder shine. 🔥✨
Happy crafting! ✨