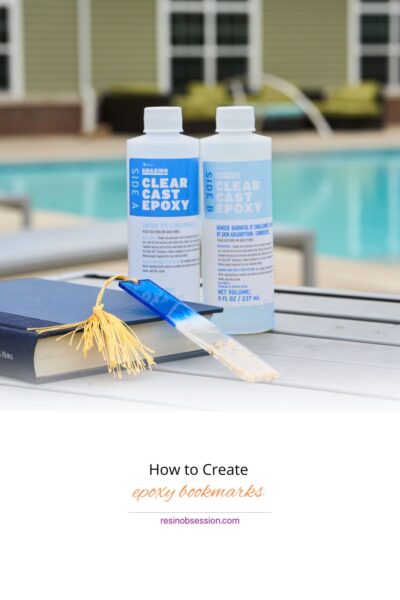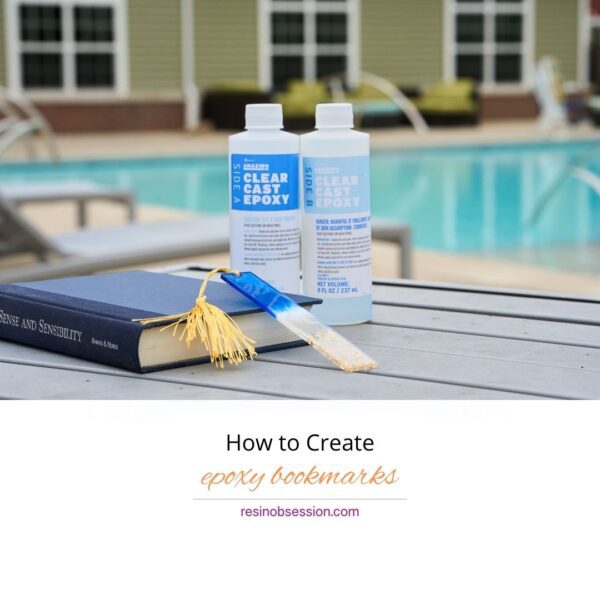
Hello, Bookworms and Crafty Creators! Are you ready to combine your love for reading with your passion for crafting? Today, we’re showing you how to create a custom epoxy bookmark that is as unique as your favorite novel. So, grab your crafting supplies and let’s make some magic!
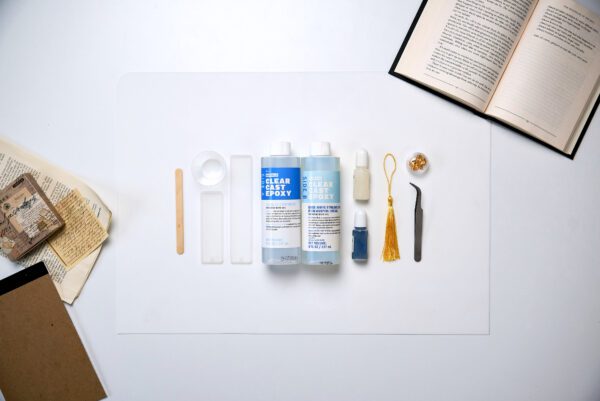
What You’ll Need: The Crafter’s Toolkit
- Epoxy Resin and Hardener: The shiny duo that brings your bookmark to life.
- Mixing Cups and Sticks: For stirring up your resin concoction.
- Protective Gear: Gloves and apron to keep things clean and safe.
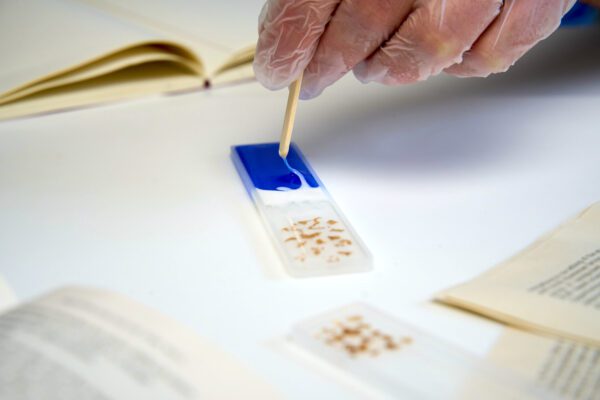
- Silicone Bookmark Mold: The canvas for your bookmark masterpiece.
- Alcohol Inks, Mica Powders, and Glitters: For that extra pop of color and sparkle.
- Dried Flowers, Stickers, or Tiny Charms: To personalize your bookmark with flair.
- Heat Gun or Torch: To banish those pesky bubbles.
- Ribbon or Tassel: For the finishing touch that says “I’m fancy and I know it.”
Step 1: Set Up Your Crafty Reading Nook
Transform your workspace into a mini library of creativity! Cover your table to catch any drips, and suit up with gloves and an apron—because crafting can be sticky, but who wants sticky fingers on their favorite book?
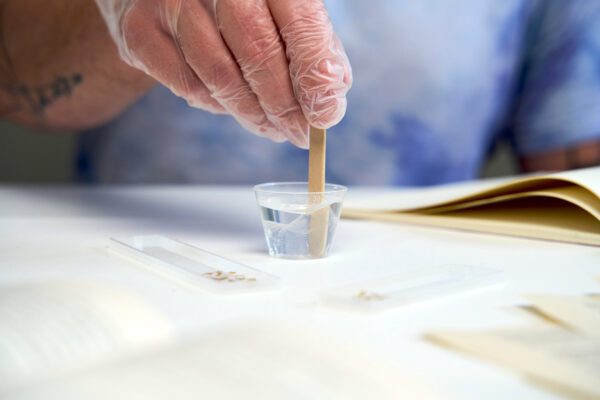
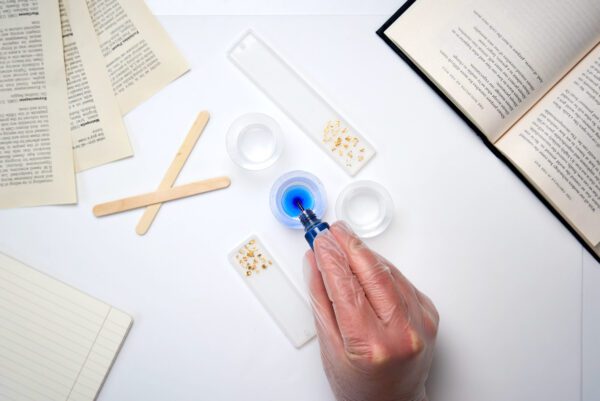
Step 2: Mix the Epoxy
Measure out equal parts of epoxy resin and hardener according to the instructions on your bottles. Pour them into a mixing cup and stir slowly for about 3-5 minutes. Think of it as stirring up a plot twist—smooth, deliberate, and full of potential!
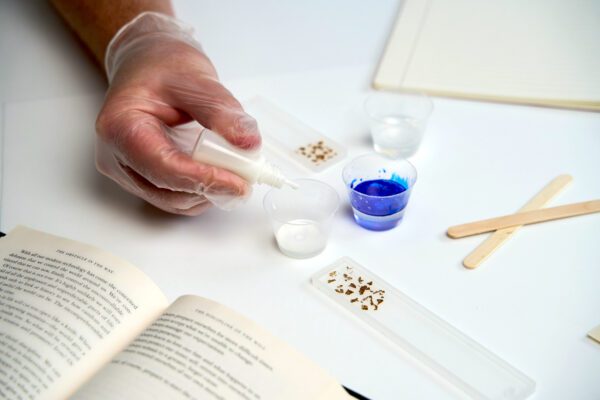
Step 3: Add a Splash of Color and Sparkle to your Epoxy Bookmark
Divide your mixed resin into smaller cups if you’re planning multiple colors. Add alcohol inks, mica powders, or a dash of glitter to each cup. Stir gently and watch as the colors swirl together like the pages of a captivating story.
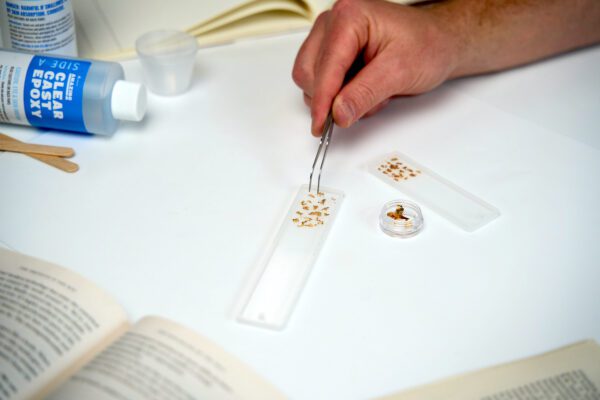
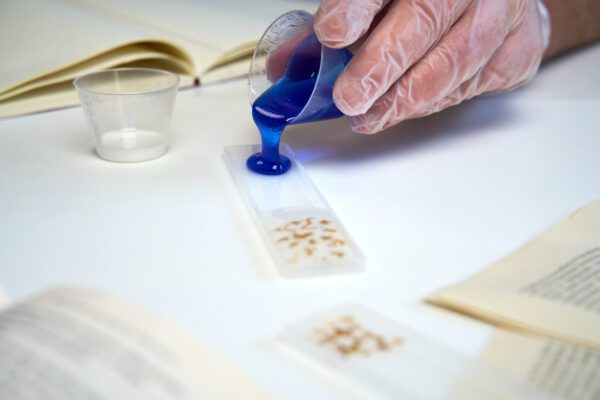
Step 4: Pour and Personalize
Pour the colorful resin into your silicone bookmark mold, spreading it evenly. Now, it’s time to get creative! Place dried flowers, stickers, or tiny charms onto the resin. Think of this step as decorating the cover of your own custom book—make it personal, make it fun!
Step 5: Bubble Trouble? No Worries!
Use a heat gun or torch to gently heat the epoxy resin. This will pop any pesky bubbles and help the resin settle into a smooth, glassy finish. Move the heat source around to avoid scorching—like turning the pages of a delicate old book.
Step 6: Let your Epoxy Bookmark Cure
Leave your bookmark to cure around 24 hours. This is the perfect time to curl up with a good book, take a walk, or daydream about the literary adventures awaiting you.
Step 7: Reveal your Epoxy Bookmark
Once the resin is fully cured, carefully pop your bookmark out of the mold. If you want to add a little extra pizzazz, attach a ribbon or tassel to the top. Voila! You’ve just created a stunning, one-of-a-kind bookmark that’s ready to dive into the pages of your next great read.

Bonus Tips for Crafting Success:
- Layer It Up: For a more intricate design, consider adding multiple layers of resin and decorations.
- Experiment with Techniques: Try marbling, swirls, or even embedding tiny objects like beads or mini letters.
- Keep it Safe: Always work in a well-ventilated area and follow all safety instructions on your resin products.
Creating your own custom epoxy bookmark is a fun and satisfying project that blends creativity with practicality. Every time you reach for your bookmark, you’ll be reminded of the joy of crafting and the magic of a good book. So grab your supplies, unleash your inner bookworm, and create a bookmark that’s as unique as the stories you love. Happy crafting, and even happier reading! 📚✨🎨