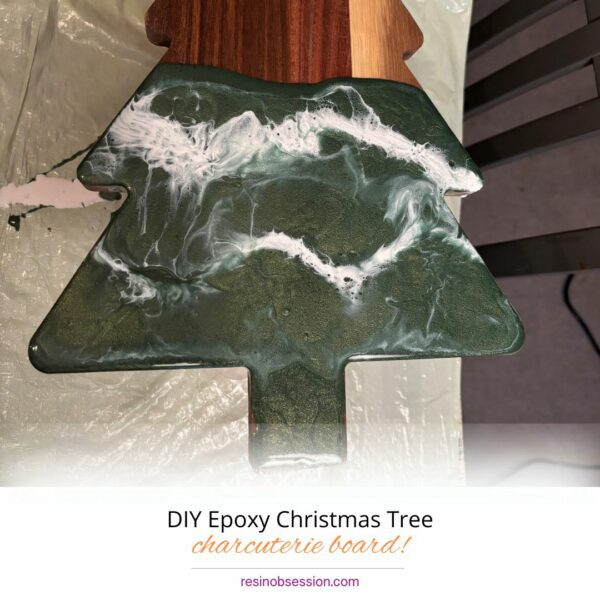
The holiday season is here, and what better way to add a festive touch to your entertaining than with a DIY epoxy Christmas tree charcuterie board? Not only will it be the centerpiece of your holiday spread, but it’ll also make you feel like a crafting superstar. Bonus: it’s way easier to make than you think!
So grab your hot cocoa, cue up your favorite Christmas playlist, and let’s get crafting!
What You’ll Need:
Materials:
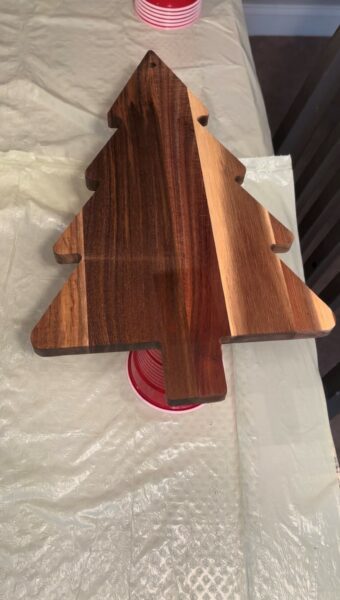
- A wooden charcuterie board in the shape of a Christmas tree (pre-cut or hand-sawed if you’re feeling ambitious)
- Epoxy resin (2-part system)
- Pigments or alcohol inks (think greens, whites, and a sprinkle of gold or silver for sparkle!)
- Painter’s tape
- Mixing cups and sticks
- Heat gun or torch
- Gloves and drop cloth (protect those surfaces and fingers!)
Optional Festive Touches:
- Tiny gold or silver flakes
- Glitter (because it’s Christmas!)
- Food-safe topcoat (for sealing your masterpiece)
Step 1: Prep the Christmas Tree Board
First things first: prep your wooden board. Sand it lightly to ensure a smooth surface, and clean off any dust or debris. Use painter’s tape to cover any areas you want to keep resin-free, like the edges or back of the board. This will give it a professional, polished look.
Pro-tip: If your tree shape isn’t pre-cut, grab a jigsaw and cut your wooden board into a Christmas tree outline. It’s a great excuse to channel Santa’s workshop vibes.
Step 2: Mix the Epoxy Resin
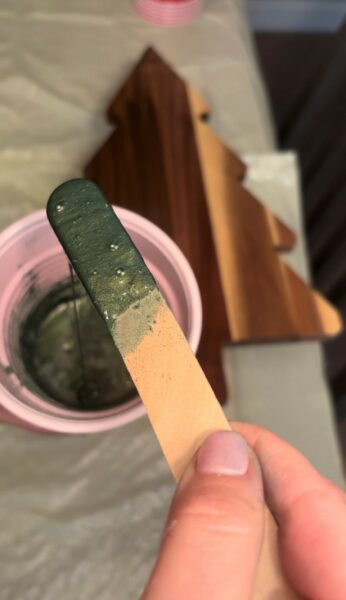
Follow the instructions on your epoxy resin kit. Measure the resin and hardener accurately (resin isn’t the place to eyeball measurements). Mix thoroughly for about 3-5 minutes until it’s completely combined. Divide the resin into separate cups for coloring.
Add your pigments or alcohol inks:
- Green for the tree base
- White for snowy accents
- Gold or silver for a little holiday sparkle
Step 3: Pour the Magic Epoxy
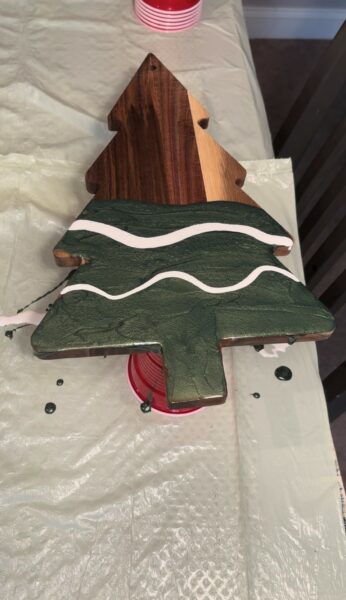
Start by pouring the green resin onto the main body of the tree. Spread it evenly with a stirring stick or tilt the board gently to let it flow. Then, drizzle the white resin in flowing lines to mimic snow-covered branches. Add gold or silver accents sparingly for a touch of elegance.
Want a unique marbled look? Use a heat gun to blow and mix the colors like true Christmas magic!
Step 4: Pop the Bubbles
Bubbles happen—don’t panic! Use a heat gun or torch to lightly wave over the resin. This will pop those pesky bubbles and help the colors blend seamlessly. Be careful not to overheat the resin, as this can scorch the surface.
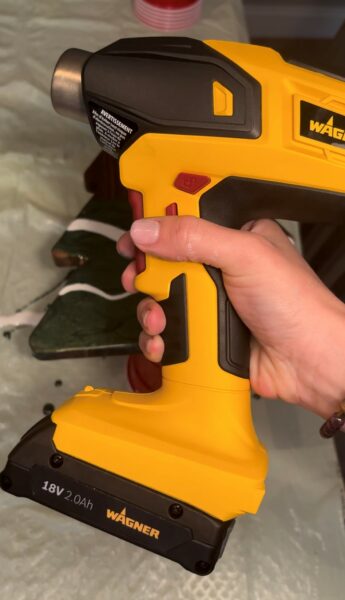
Step 5: Add Festive Details to Your Epoxy Christmas Tree
Before the resin fully cures, sprinkle on some glitter or tiny gold flakes. These little touches will make your board sparkle brighter than the star on top of your tree! Make sure everything stays food-safe by keeping these accents minimal and away from areas where food will sit.
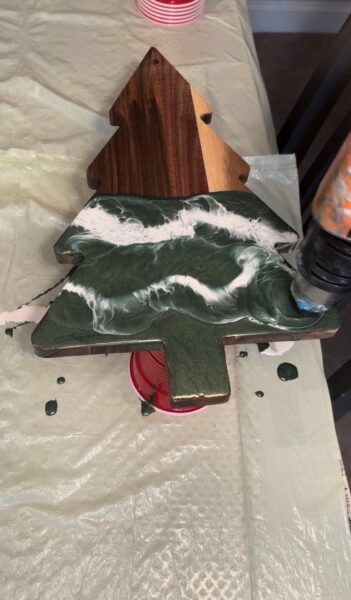
Step 6: Let the Epoxy Cure
Patience, grasshopper! Let your resin cure according to the instructions on the package. This usually takes 24-48 hours, depending on the brand. Keep it in a dust-free area to avoid unwanted surprises.
Step 7: Finishing Touches
Once your board is fully cured, remove the painter’s tape and lightly sand any rough edges. Apply a food-safe topcoat to seal everything and ensure it’s ready for your holiday snacks.
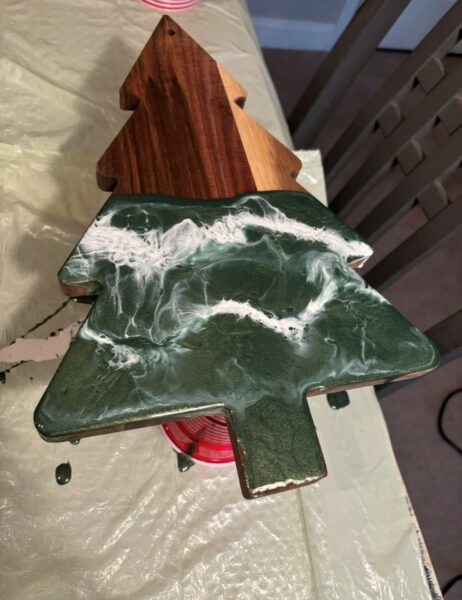
How to Use Your Christmas Tree Charcuterie Board
Now that you’ve created your masterpiece, it’s time to put it to good use! Load it up with:
- Cheese and crackers
- Festive fruits like cranberries and pomegranate seeds
- Slices of salami and prosciutto
- A few sprigs of rosemary for that extra Christmassy aroma
Your guests will marvel at your creativity and probably ask where you bought it. Feel free to humbly brag that it’s a one-of-a-kind, handmade piece!
Making an epoxy Christmas tree charcuterie board is the perfect blend of festive fun and functional art. Whether you’re crafting for yourself or gifting it to a fellow Christmas enthusiast, this project is sure to spread holiday cheer.
So, put on your Santa hat, channel your inner elf, and get to crafting. Merry DIY-mas!

