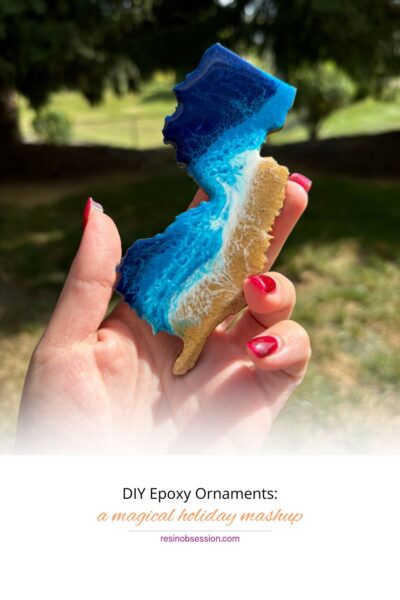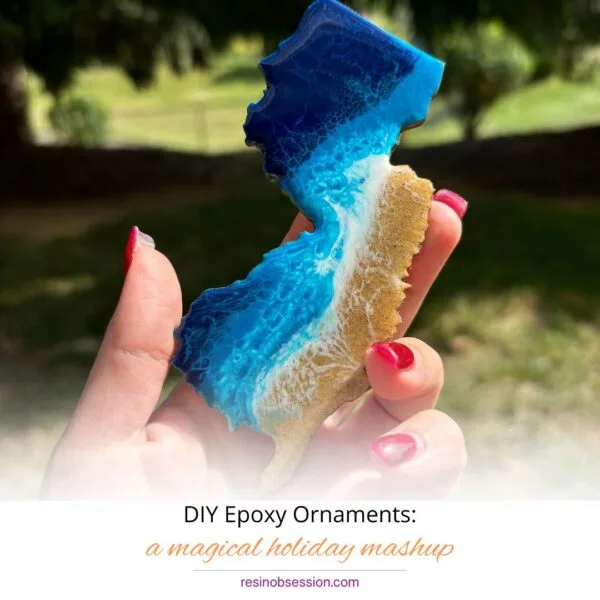
It’s the most wonderful time of the year…to get crafty with epoxy ornaments! If you’re looking to deck the halls with something extra unique this holiday season, wooden ornaments paired with colorful epoxy are the perfect blend of rustic charm and glossy magic.
So, grab your resin, your wooden ornament blanks, and let’s make something that’ll have Santa saying, “I need one of these for the sleigh!” 🎄✨
What You’ll Need:
- Wooden ornament blanks (you can find these at craft stores or online, usually shaped like stars, snowflakes, trees, etc.)
- Epoxy resin (the shiny stuff that’ll make your ornaments pop!)
- Pigments, glitter, or mica powder (because no ornament is complete without a bit of sparkle, right?)
- Painter’s tape or masking tape (to seal the back of the ornaments)
- Mixing cups and stirrers (we’re about to mix up some holiday magic)
- A small heat gun or torch (to eliminate those pesky bubbles)
- Ribbon or string (for hanging your finished masterpieces)
Step 1: Wood, Meet Epoxy Resin (A Perfect Pairing)
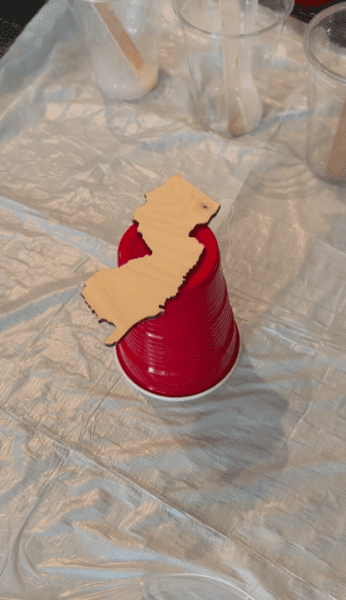
First up, grab your wooden ornaments. These are going to be the frame for your stunning epoxy designs. They usually come pre-cut with a shape in the middle (like a star or circle), which is where the real magic happens.
To keep things neat, flip the wooden ornament over and tape the back side of the open area. This will create a base to hold the resin in place while it cures—no sneaky leaks on our watch! Make sure the tape is sealed tight around the edges, then flip it back over, and you’re ready to pour.
Step 2: Mix the Epoxy Magic
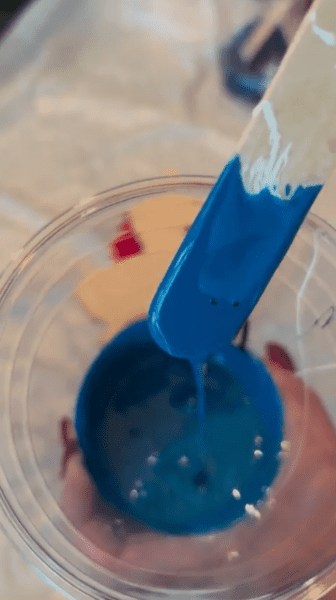
Next, it’s time to mix your resin! Follow the instructions on your resin bottle, stirring slowly to avoid bubbles. Once it’s mixed up like holiday cookie batter, it’s time to get creative.
Add a dash of color! Mix in pigments, mica powder, or even a sprinkle of glitter to give your epoxy some festive flair. Swirls of red, green, gold, or even frosty white are perfect for that holiday look. Feel free to experiment—this is your moment to be the resin version of Santa’s elf!
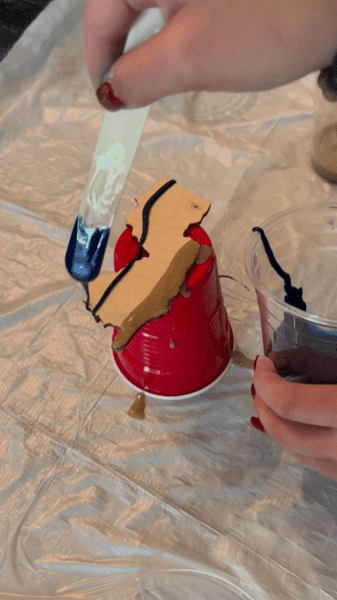
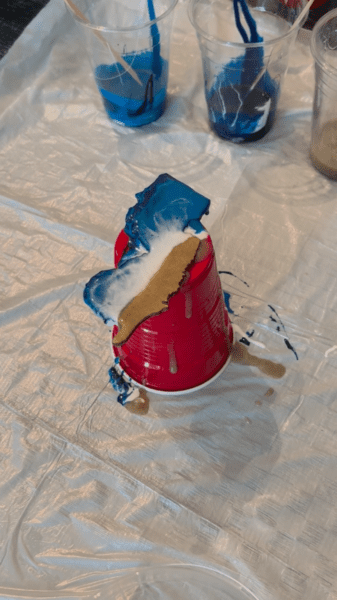
Step 3: Pour It On, Baby!
Now for the fun part! Slowly pour the resin into the cutout part of your wooden ornament, letting it fill the space. Want to take it up a notch? Try layering different colors or adding drops of one color on top of another to create a marbled, galaxy-like effect. You can use a toothpick to swirl the colors around if you’re feeling extra creative.
Once you’ve poured, give it a quick check for bubbles. If you see any, zap them with a small heat gun or torch for a bubble-free, smooth finish.
Step 4: Wait…Patiently (It’s Hard, We Know)
The hardest part of any epoxy project is waiting for it to cure, and holiday ornaments are no exception. Place your freshly poured ornaments in a safe, dust-free zone (nobody wants pet hair in their holiday décor!) and let the resin cure. This could take 24-48 hours. It’s tough, but just think of how shiny and perfect they’ll be!
Step 5: The Big Reveal of your Epoxy Ornaments
Once your ornaments are fully cured and shiny as a new ornament from Santa’s workshop, peel off the tape from the back. Ta-da! You’ve got yourself some epic epoxy-and-wood masterpieces that are sure to be the star of any tree. If the back feels a bit sticky, you can sand it down for a smooth finish.
Step 6: Finish Your Epoxy Ornaments in Style
The final touch: attaching a ribbon or string to hang your ornaments! You can use classic red or green ribbon for a traditional holiday vibe, or go with twine for that cozy, rustic feel. Tie it on, and boom—you’ve got yourself a DIY ornament that’s ready to hang with pride on your tree, give as a gift, or display around your home.
Step 7: Show Off Your Epoxy Ornament!
Now it’s time to hang those beauties! Whether you’re decking your own halls or gifting these ornaments to friends and family, these epoxy-filled wooden ornaments are sure to be the talk of the season. And the best part? You made them with your own two hands, which means they’re packed with holiday spirit.
Bonus Ideas for Epoxy Ornaments:
- Add Personalization: Use a fine paint pen to add initials, dates, or little holiday messages on the wooden part of the ornament.
- Snow Globe Effect: Before the resin fully cures, drop tiny holiday-themed charms (like mini snowflakes or trees) into the resin for an embedded effect.
- Glow in the Dark: Make your ornaments really stand out by mixing in glow-in-the-dark pigments, so they glow after the lights are off!
So go ahead, share your ornament creations on social media with pride—because not only are they unique, they’re epic. 🎅✨
Happy crafting, and may your holiday season be filled with creativity, sparkle, and maybe a little too much eggnog. 🍷🎄