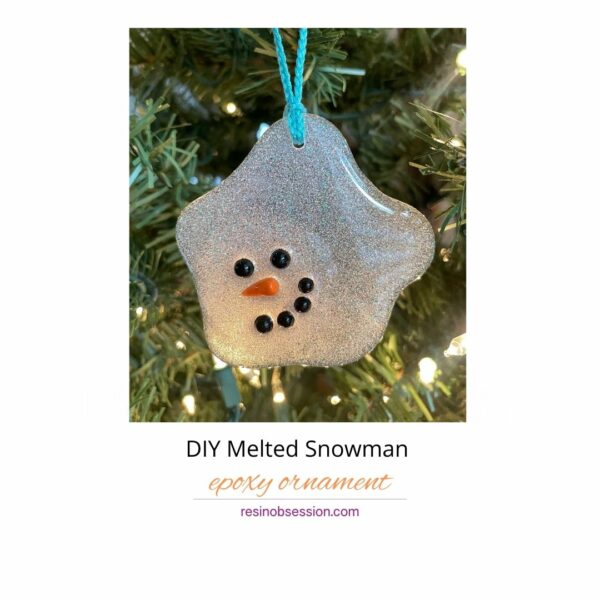
What happens when a snowman spends a little too much time in the sun? He melts into an adorable puddle of winter whimsy, of course! With a little UV resin and your creative magic, you can craft a melted snowman epoxy ornament that’s quirky, fun, and perfect for holiday laughs. Let’s make this frosty fella who lost the battle with the fireplace but won our hearts. 🫠⛄
What You’ll Need to Create Your Snowman Epoxy Ornament:
- UV resin (fast, easy, and perfect for small projects)
- Silicone mat or flat silicone mold (to build your puddle on)
- UV lamp (or a sunny spot if you’re feeling patient)
- White pigment (for a snow-like base)
- Black and orange sprinkles (for buttons, eyes, and a carrot nose)
- Tiny embellishments (like mini sticks for arms, tiny scarves, or a hat)
- Toothpicks or small paintbrushes (for detail work)
- Mixing cups and popsicle sticks
- Gloves (because sticky hands aren’t part of the fun!)
Step 1: Create the Melting Snow Base
- Prep the Workspace:
Set up your silicone mat or mold and gather all your materials. UV resin cures quickly, so it’s good to have everything ready to go! - Mix the Snow Base:
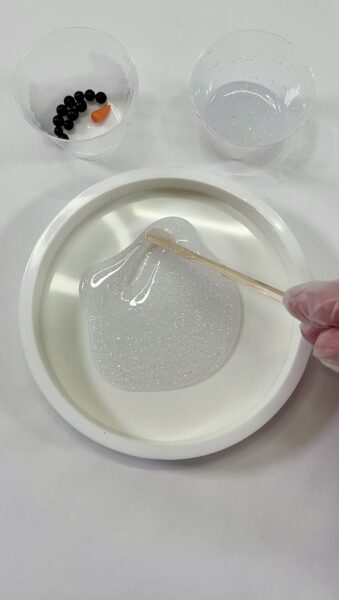
In a small mixing cup, combine UV resin with white pigment. Stir thoroughly until the color is consistent. - Pour Your Puddle:
Pour the white resin onto the silicone mat in an irregular, puddle-like shape. Don’t worry about perfection—melting snowmen are anything but neat! Use a toothpick to shape the edges if needed. - Cure It:
Place the puddle under your UV lamp or in sunlight to cure for 1–2 minutes. Make sure it’s fully hardened before moving on.

Step 2: Bring the Snowman Epoxy Ornament to Life
- Add Buttons and Eyes:
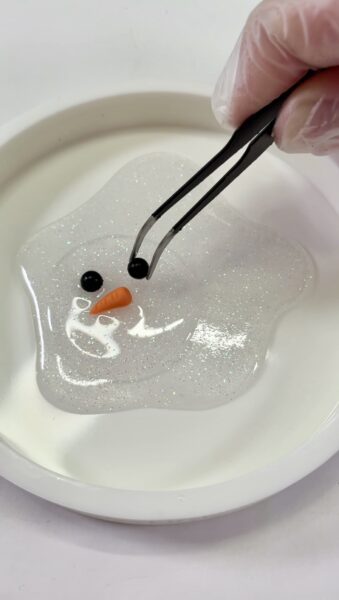
Use a toothpick to dab black and orange sprinkles onto the puddle for buttons and eyes. Cover with UV Resin and Cure for 1 minute. - Stick Arms:
If you’re using mini sticks for arms, carefully position them in the resin puddle, sticking out slightly. Add a dab of UV resin around the base of each stick to secure them, then cure.

Step 3: Add Finishing Touches
- Accessorize:
Use tiny pieces of fabric, ribbon, or resin to create a miniature scarf or hat. Secure them to the puddle with UV resin and cure. - Optional Sparkle:
For a frosty, magical touch, mix fine glitter into a small amount of clear UV resin and brush it over the puddle. Cure again for a shimmering finish. - Add a Hanging Loop:
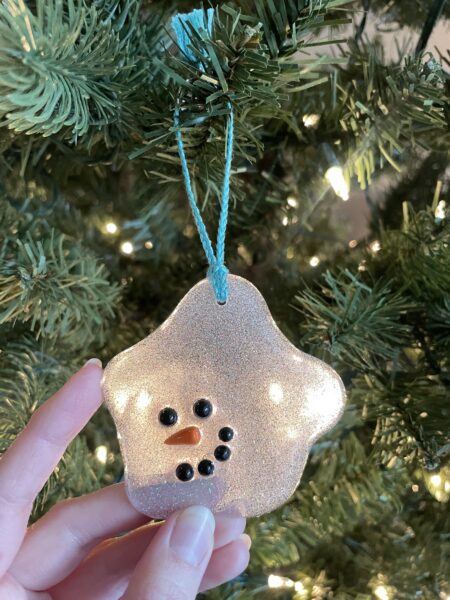
Dab a bit of UV resin at the top of the puddle, insert a small jewelry eye pin, and cure. This will allow you to add a string or ribbon to hang your melted snowman.
Step 4: Let Your Snowman Epoxy Ornament Shine!
String a ribbon or hook through the loop and hang your melted snowman ornament on your tree, a window, or anywhere that could use a little frosty humor. Don’t forget to name him something quirky—Melty McFrostface, perhaps? 😉

Pro Tips for Melty Success:
- Keep It Lighthearted: The charm of this project is in its irregularity. If it’s not perfect, it’s perfect!
- Work in Layers: If you’re adding lots of details, cure the resin in stages to avoid smudging your work.
- Experiment with Sizes: Try making tiny melted snowmen for earrings or larger ones for coasters.
Melt Hearts, Not Snowmen
This melted snowman ornament is a playful reminder of winter’s whimsy, perfect for giggles and grins all season long. Whether you’re crafting for yourself, gifting to a friend, or adding a touch of humor to your holiday decor, this little puddle of cheer will be a hit.
Have your own twist on the melted snowman? Share your frosty creations in the comments—we’d love to see how your snowman melts! 🫠⛄✨

