So, you’ve mastered the art of epoxy coasters—beautiful, glossy, and full of personality. But now, where do those coasters live when they’re not under your coffee cup? Enter the epoxy coaster holder, because let’s face it, even your coasters need a stylish home. And why settle for an ordinary holder when you can make one that’s just as fun and creative as the coasters themselves? Grab your resin supplies, pick out your favorite mold, and let’s build a little throne for your coaster royalty! 👑
What You’ll Need:
- Epoxy resin (obviously, because we’re keeping this glossy!)
- A coaster holder mold (silicone molds come in so many shapes—squares, rounds, even funky geometric designs)
- Your choice of pigments or glitter (because what’s life without sparkle?)
- Mixing cups and stirrers
- A heat gun or torch (for banishing those pesky bubbles)
- Non-stick surface (to keep your workspace safe from runaway resin drips)
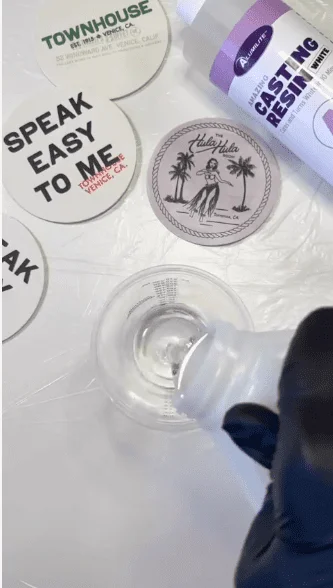
Step 1: Get Ready to Epoxy Resin (and Pour Some Magic)
Mix up your epoxy resin according to the instructions on the label. If you’re feeling adventurous, toss in some pigments, glitter, or even dried flowers to jazz up your coaster holder. This is your chance to go wild—make your holder as colorful or minimalist as you want. You can go for a marbled effect, swirling colors together, or keep it chic with a single hue.
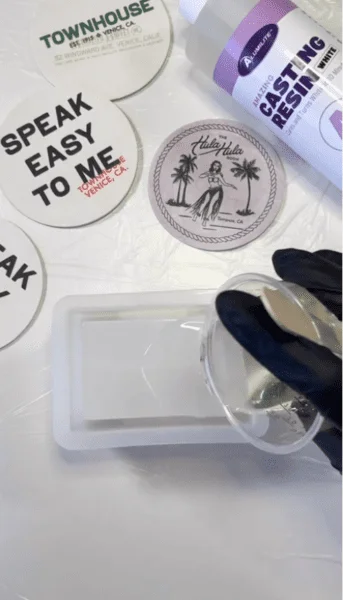
Step 2: Pour Like You Mean It
Once your resin is perfectly mixed, it’s time to pour! Slowly fill your coaster holder mold, making sure to get into every little corner. This is where the magic happens. If you’ve layered colors or added glitter, watch the resin swirl and blend—it’s like watching a tiny galaxy form right before your eyes. 🌌✨
Pro tip: Don’t forget to pop those sneaky little air bubbles with a heat gun or torch. Just a quick pass over the surface will do the trick, and your resin will remain smooth and flawless!
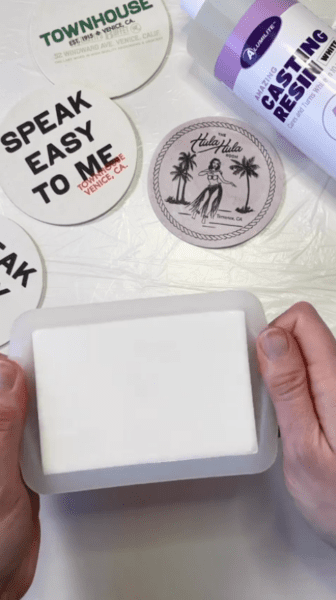
Step 3: Watch your Epoxy Coaster Holder Cure
Here’s the best part! The Alumilite Amazing Casting Resin cures in just 10 minutes! Watch it change from clear to white in a matter of minutes. It’s like magic! No need for waiting around here!⏳
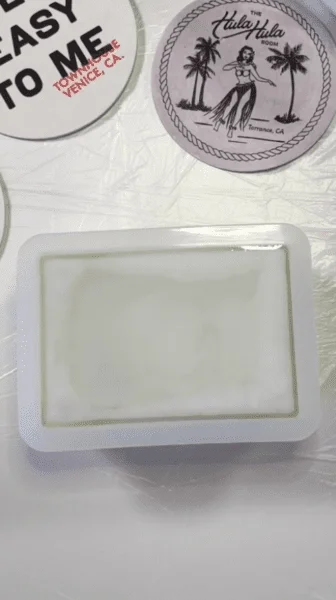
Step 4: Demold your Coaster Holder
Once your coaster holder has cured, it’s time for the big reveal—demolding! Slowly peel back the silicone mold to reveal your shiny, beautiful, custom-made coaster holder. There’s nothing quite like that satisfying feeling of seeing your finished piece for the first time, especially when it’s all glossy and smooth!
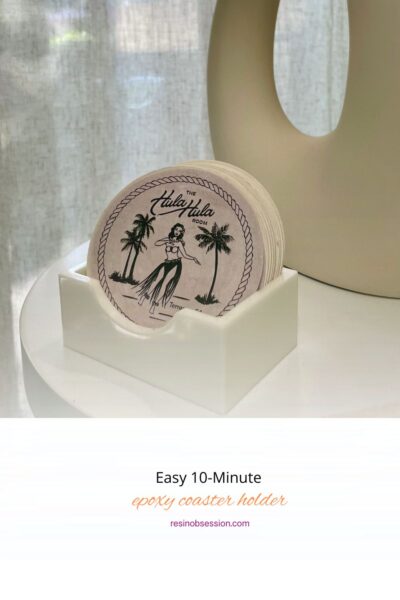
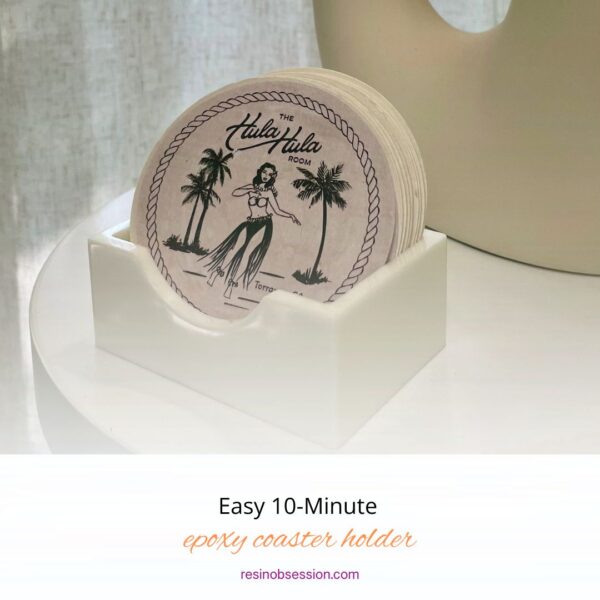
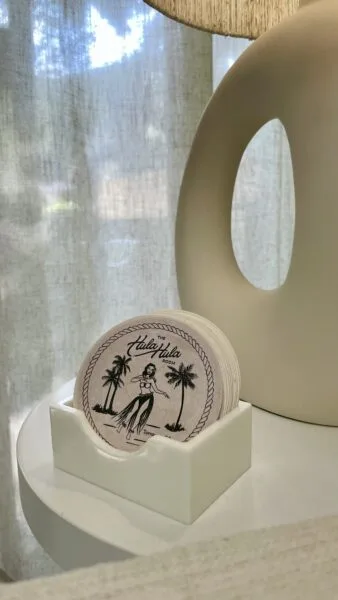
Step 5: Show Off Your New Coaster Castle
Now that your coaster holder is ready, it’s time to show it off! Place your newly created coasters in their custom home, and prepare for all the compliments. Whether it’s on your coffee table, kitchen counter, or even as a quirky gift, your coaster holder is more than just a container—it’s a statement piece. And let’s be real, it’s a lot more fun to have one that’s handmade and unique.
Bonus Ideas for Epoxy Coaster Holders:
- Add a Personal Touch: You could add initials, small objects, or tiny keepsakes into the resin for a personalized coaster holder.
- Glow in the Dark: Why stop at basic colors? Try adding glow-in-the-dark pigments for a coaster holder that lights up when the lights go down.
- Themed Holder: Got a theme going with your coasters? Match the holder! Tropical coasters? Throw in some seashells or sand. Galaxy coasters? Go full cosmic with glitter and deep blues.
Making a coaster holder might just be the unsung hero of epoxy crafts—it’s practical, easy to customize, and keeps your space looking organized and stylish. Plus, it’s a great way to make sure your hard-earned epoxy coasters have a safe (and super chic) place to rest. Who knew something as simple as a coaster holder could steal the show?
So, what are you waiting for? Time to make your coasters a home fit for a queen—or at least fit for a cup of coffee. 💫