
Hello, Creative Crafters and Home Décor Enthusiasts! Are you ready to add a touch of sophistication with a dash of drama to your space? Today, we’re crafting a sleek, chic, and oh-so-dashing black epoxy side table. This project is perfect for those who love a bit of modern flair mixed with hands-on creativity. So, roll up your sleeves, grab your resin supplies, and let’s make some stylish magic!
What You’ll Need: The Sleek Side Table Kit
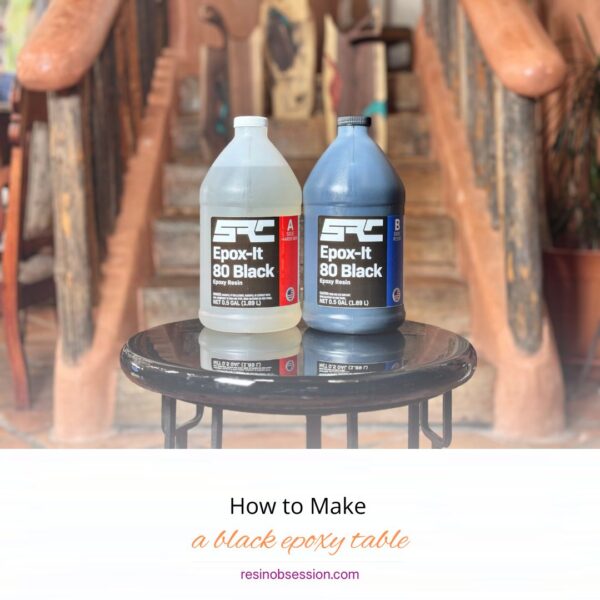
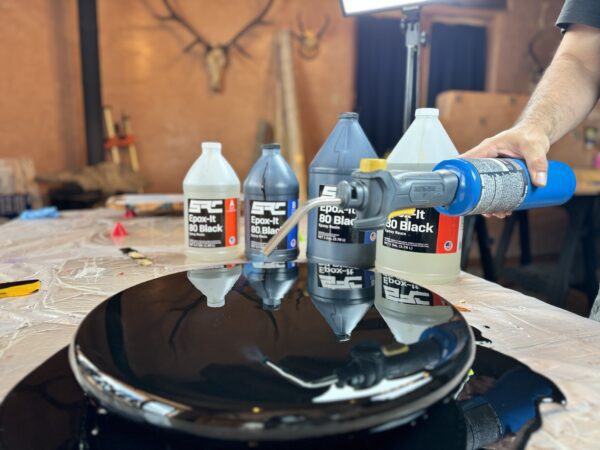
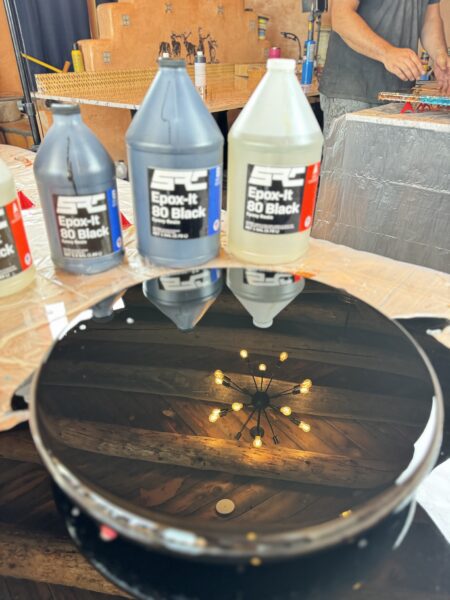
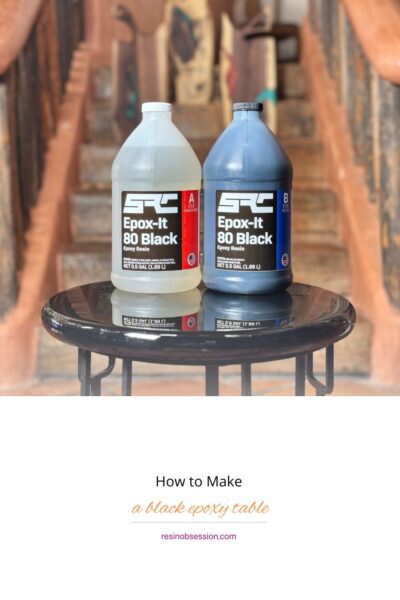
- The New Epox-It 80 Black: The glossy black masterpiece that’s about to become your new best friend.
- Mixing Cups and Sticks: For stirring up your resin potion.
- Protective Gear: Gloves and apron, because while black is classic, sticky black resin hands are not.
- Old Wood Tabletop: Time to give an existing tabletop a makeover.
- Heat Gun or Torch: To bust those pesky bubbles.
- Table Legs: Hairpin legs or another style that fits your vibe.
- Black Spray Paint: We want this table as dark as the night sky
- Painter’s Tape: To protect areas you don’t want resin on.
Step 1: Set Up Your Crafty Lair
Turn your workspace into a sleek, sophisticated craft zone! Cover your table to catch any drips, and suit up with gloves and an apron—because while we’re going for drama, we want it in the table, not our clothes.
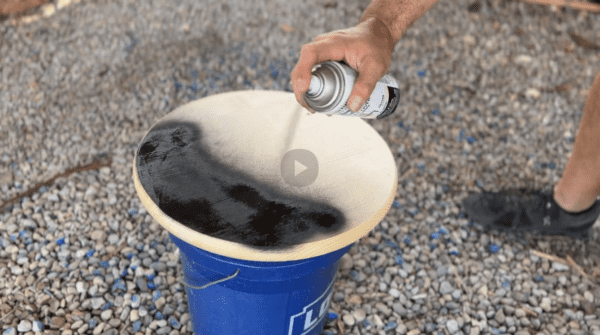
Step 2: Paint your Tabletop
For a perfect pitch-black look, use an acrylic paint or spray paint to paint your wooden tabletop black. First, we paint then we pour!
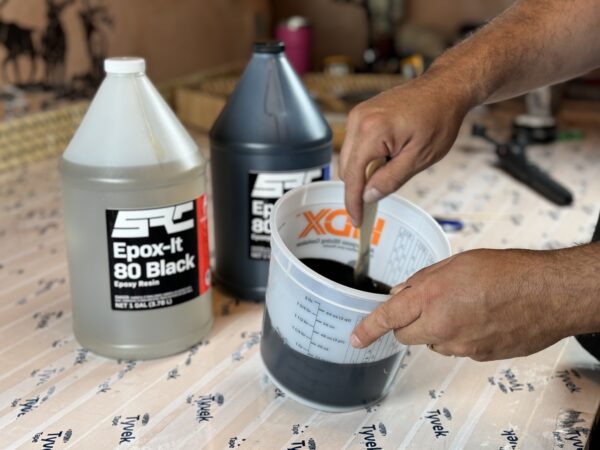
Step 3: Mix the Black Epoxy
Measure out equal parts of epoxy resin and hardener according to the instructions. Pour them into a mixing cup and stir slowly for about 3-5 minutes. Stir like you’re concocting a mysterious potion—smooth and steady, because you’re about to create something seriously cool.
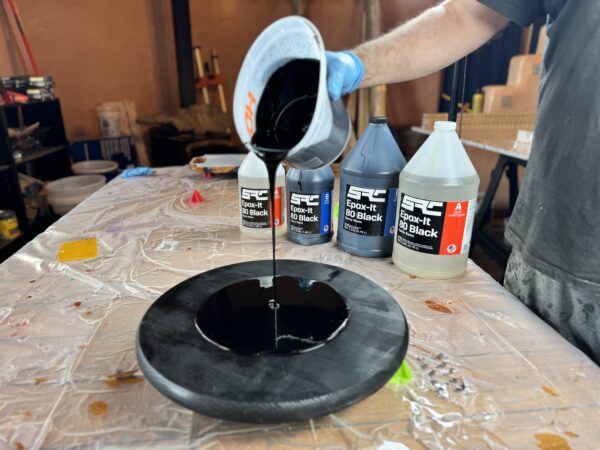
Step 4: Pour and Level the Black Epoxy
Pour the resin on top of your tabletop. Use a stir stick to help guide the resin into every corner and crevice.
Step 5: Bubble Busting Time
Use a heat gun or torch to gently wave over the resin’s surface. This will pop any bubbles that have formed and leave your resin looking as smooth as a calm, black lake at midnight. Keep the heat moving to avoid scorching—remember, we’re going for sleek, not scorched.
Step 6: Let the Black Epoxy Cure
Now comes the waiting game. Let your resin cure for around 24 hours. This is the perfect time to dream up where your new side table will live or what stylish accent pieces you’ll pair it with.
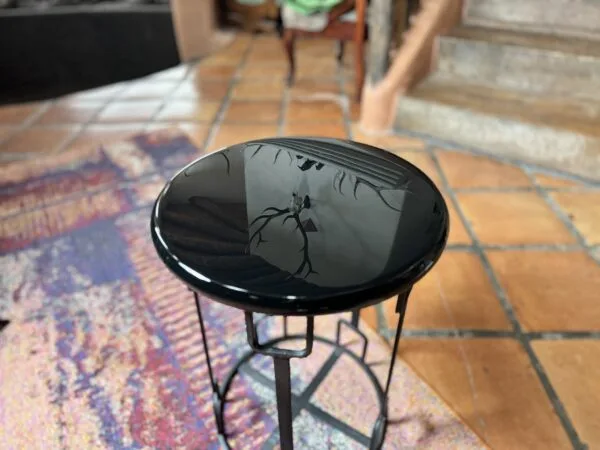
Step 7: The Grand Reveal
Once the resin is fully cured, it’s time to reveal your masterpiece. Peel off the painter’s tape and admire that flawless, glossy black finish. If necessary, lightly sand any rough edges and apply resin polish for an ultra-smooth, reflective surface.
Step 8: Add the Legs
Now it’s time to bring your table to life! Attach the legs—hairpin legs are a popular choice for that modern, minimalist vibe, but feel free to get creative. Secure them tightly and make sure everything is level.
Bonus Tips for a Polished Look:
- Layer It Up: If you want a more complex look, try adding a layer of clear resin with embedded items like gold flakes, metal accents, or even a touch of glitter for a subtle sparkle.
- Experiment with Finishes: For a more matte, industrial look, you can skip the polish and leave the resin with a natural finish.
- Keep it Safe: Always work in a well-ventilated area and follow all safety instructions on your resin products.
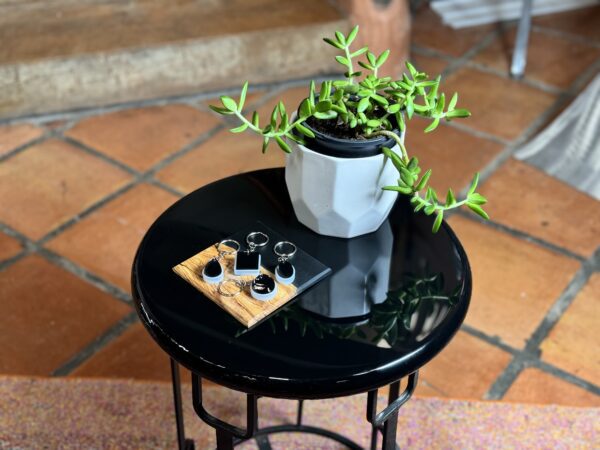
Creating your own black epoxy side table is not just a fun project, but a way to add a unique, personal touch to your home décor. Every time you set your coffee, book, or cocktail on this sleek, dramatic table, you’ll be reminded of your creative triumph. So, grab your supplies, let your imagination run wild, and craft a side table that’s as bold and beautiful as your style. Happy crafting! 🖤✨🎨
That’s a good tutorial; I think I’ll be trying that out VERY soon!
Thanks
Geoff
Glad to hear! Send us pictures of the result!