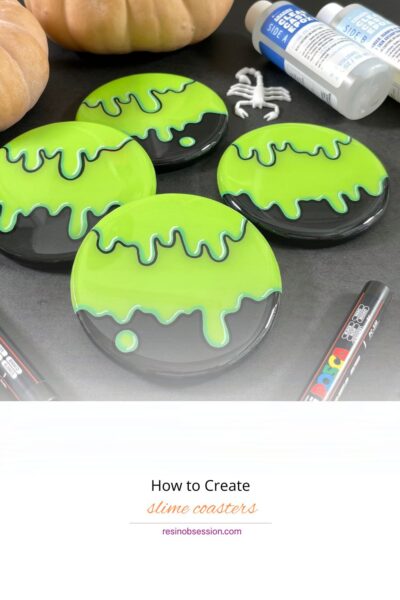
You’re in for a treat because today we’re diving into the world of slime-inspired painted coasters—the perfect mix of ooey-gooey fun and stylish home decor. Whether you’re a fan of that satisfying squish of real slime or just love the mesmerizing drip of paint, this project is bound to bring out your inner mad scientist (or just your inner child). So, let’s get messy in the best way possible!
What You’ll Need:
- Blank wooden coasters: (or any flat, sturdy surface you want to slime up)
- Acrylic paints: in your favorite slime-tastic colors (think neon greens, glowing purples, and vibrant pinks)
- Painters Tape: To protect the back of the coaster
- Epoxy Resin: (because we want these coasters to last through all the coffee spills)
- Mixing cups and stir sticks: for mixing
- Cork Sticker: to finish the back
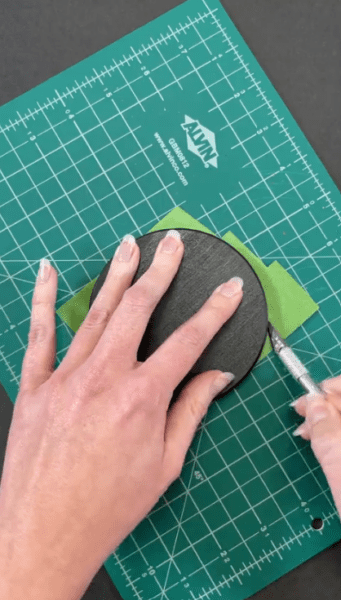
Step 1: Prep your Wooden Slime Coasters
First things first, we need to paint our wooden coasters. Start by painting your coasters black, we need it as dark as the midnight sky. Then add painters’ tape to the back of the coasters to catch any resin spills!
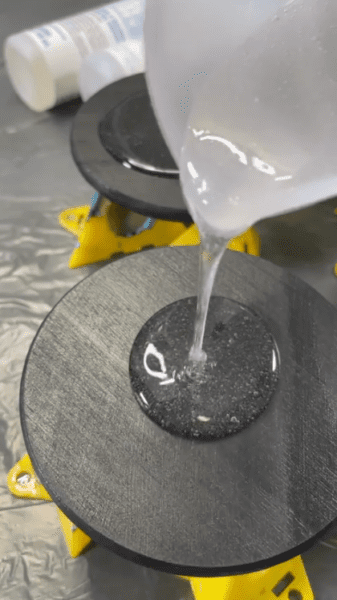
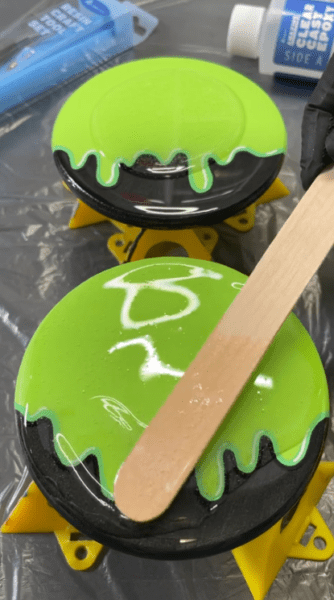
Step 2: Time for the Resin Spa
Mix up a batch of resin according to the instructions on the box. Carefully pour a layer over your coasters to give them a glossy, durable finish. Pro tip: use a heat gun or a torch to pop any bubbles that form on the surface.
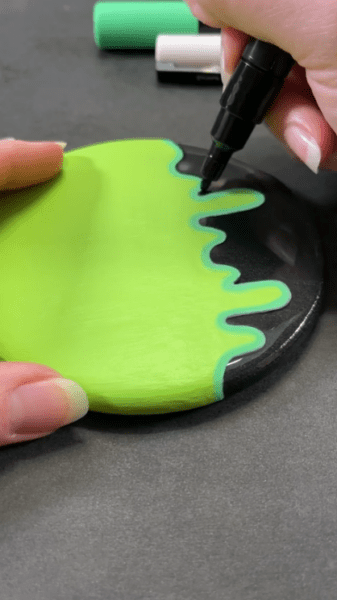
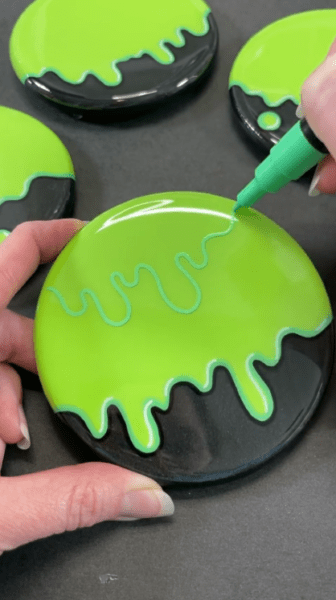
Step 3: Get That Gooey Layer Going
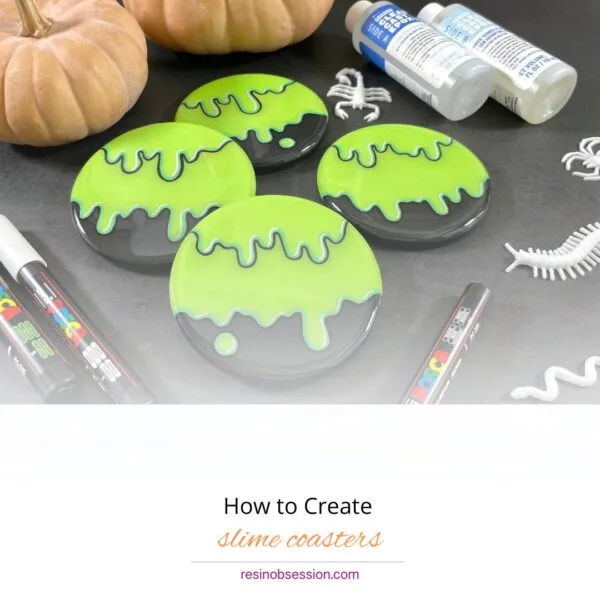
Now comes the fun part: paint your slime! Paint ooze over the edges, creating that perfect “slime-spill” effect. Try different colors and let them blend in surprising ways—let the slime takeover begin!
Step 4: Another Resin Spa
Carefully pour another layer of epoxy over your coasters to lock in that slime-tastic look and give them a glossy, durable finish.
Step 5: Repeat
Repeat steps 3 and 4 for an added layer to your slime coasters. The more layers the better!
Step 6: Wait for the Slime to Set (Patience, Padawan)
Now, the hardest part: waiting. Let your slimy coasters dry completely. Let the epoxy cure fully for 24 hours. So grab a snack, binge some Netflix, and resist the urge to poke them (no matter how much they look like real slime).
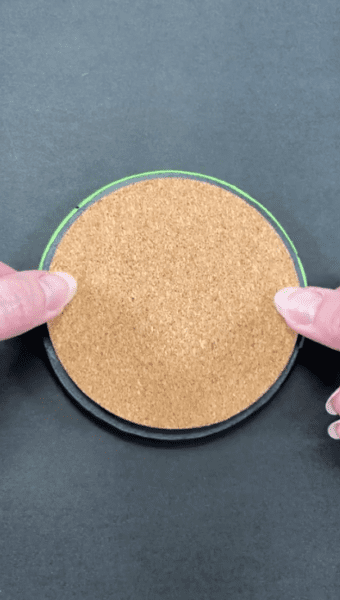
Step 7: Finish Your Slime Coasters
Remove the painter’s tape off the back of your coaster. Add the cork sticker to the back to give it that final touch and perfect finish!
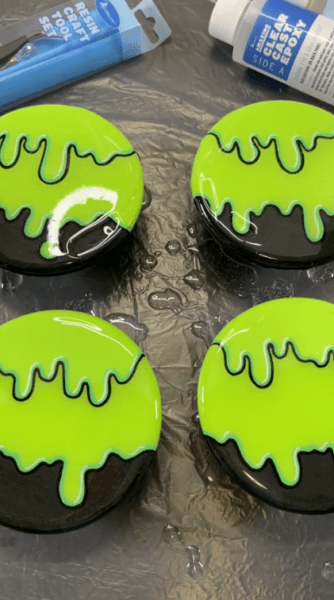
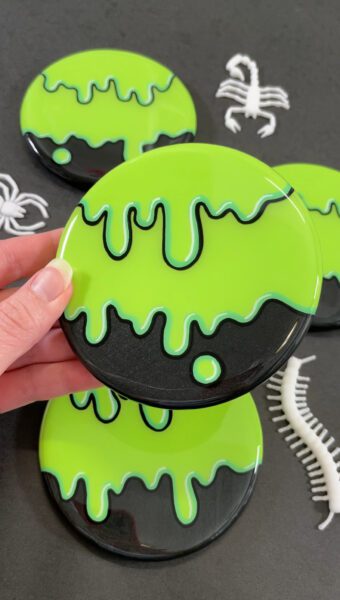
Step 8: Enjoy Your Oozy, Boozy Slime Coasters
Once the resin has fully cured, you’ll have a set of slime-inspired coasters that are ready to protect your tables from drinks, spills, and anything in between. Invite some friends over, set out your freshly slimed coasters, and bask in the compliments on your gooey, artsy creations. They might even ask if they can squish them—don’t worry, it’s a common reaction!
Bonus Tips for Slime Coasters:
- Experiment with color layering: Try adding small droplets of different colors on top of each other for a layered slime effect!
- Marble it up: Swirl two colors together with a toothpick for a marbled slime look.
- Thin out for different effects: A little water or more pouring medium can create a more flowy, drippy slime look.
So, there you have it! Who knew slime could go from messy playtime to chic home decor? Get ready to slime it up and create something that’s both oozy and fabulous. Just remember, while these coasters may look like slime, they’re definitely NOT for squishing—unless you want a real mess on your hands!
Happy crafting, fellow slime enthusiasts! 💚