
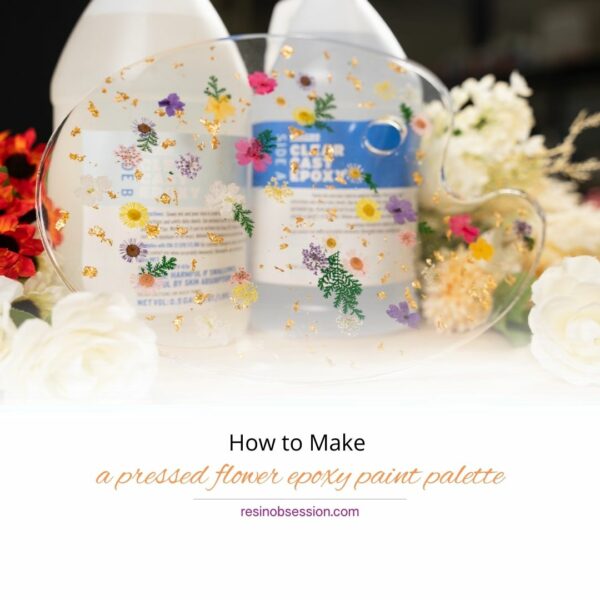
Artists and flower fanatics, rejoice—this project was made just for you! Imagine dipping your brush into a paint palette that looks like a botanical garden in full bloom. 🌸 We’re talking about a gorgeous, glossy epoxy paint palette embedded with pressed flowers. Not only is it functional, but it’s also the prettiest art supply you’ll ever own. Ready to combine nature and creativity into one dreamy DIY? Let’s make magic!
What You’ll Need for Your Epoxy Paint Palette:
- A paint palette mold (resin-safe, silicone is best)
- Clear epoxy resin and hardener
- Pressed flowers (dried flat ahead of time!)
- Mixing cups and stir sticks
- Gloves and drop cloth for safety
- Tweezers for flower placement
- Torch or heat gun to remove bubbles
- Optional: Glitter, gold flakes, or mica powder for extra flair
Step 1: Prep Your Epoxy Paint Palette Party
Set up a clean, level workspace. Make sure your pressed flowers are totally dry and ready to go. Lay them out ahead of time in the design you want—trust us, winging it never works when you’re battling fast-curing resin!
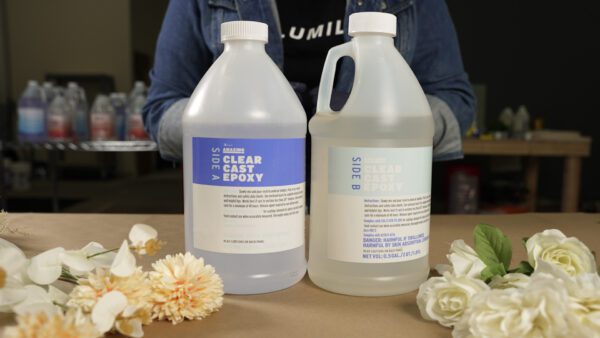
Step 2: Mix the Epoxy Resin
Mix your resin and hardener according to the brand’s instructions (usually 1:1). Stir slowly for 3-5 minutes until it’s crystal clear and bubble-free-ish. Scrape the sides and bottom of your cup to avoid any sneaky soft spots later.

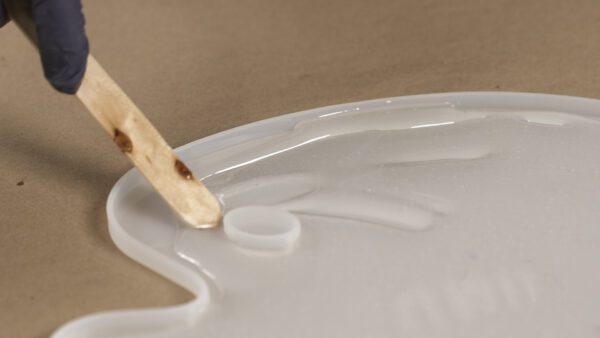
Step 3: Pour a Thin Base Layer
Pour a shallow layer of resin into your mold—just enough to coat the bottom. Use your torch or heat gun to pop any bubbles. Let it rest for a few minutes to level out.
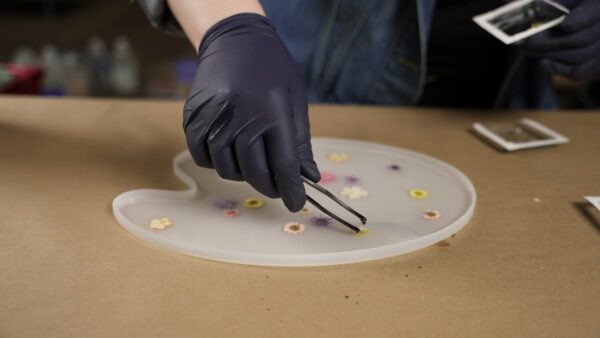
Step 4: Place Your Pressed Flowers
Using tweezers, gently place your pressed flowers into the resin. Press them in lightly with a stir stick if they float. Arrange them however you like—think Monet meets garden fairy.
Tip: Place petals face-down so they show clearly from the top once the piece is flipped!
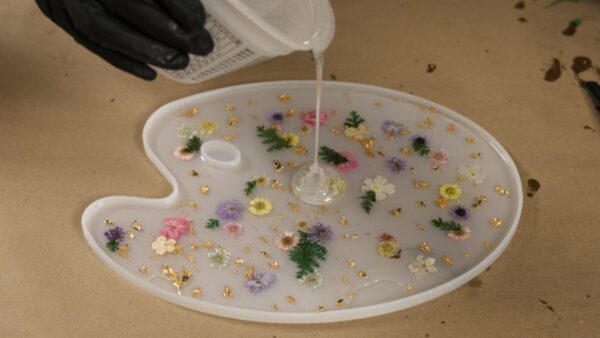
Step 5: Pour the Final Layer
Once your flowers are settled, pour the remaining resin over the top until the mold is full. This locks in your design and creates a smooth, shiny surface. Pop those bubbles again with your torch or heat gun.
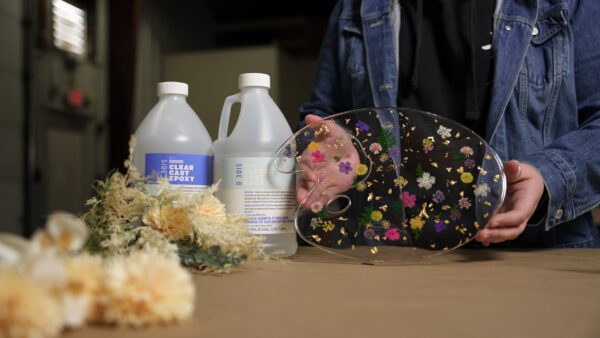
Step 6: Cure & Reveal
Cover your mold to keep dust out and let it cure undisturbed for 24-48 hours (depending on the resin brand). Once fully cured, pop it out and marvel at your stunning floral creation!
How to Use or Gift Your Epoxy Paint Palette:
- Use it as your actual paint mixing palette (yes, it’s functional and fabulous!)
- Display it as studio decor
- Wrap it up as a unique gift for your favorite art-loving friend
- Turn it into a mini tray for jewelry, trinkets, or crystals
Bonus Flair Ideas:
- Add calligraphy or vinyl lettering with your name or a quote
- Mix in pearlescent mica powder for a magical shimmer
- Use seasonal flowers for a year-round memory maker
And there you have it—your very own pressed flower epoxy paint palette! It’s floral, it’s functional, and it’s fabulously handmade by you. Whether you’re painting masterpieces or just vibing in your craft corner, this DIY will bring a smile to your face every time you mix your colors.
Now go forth and create something bloomin’ beautiful! 🌸🖌️
This is a topic that undoubtedly deserves far more attention, and I’m so pleased you addressed it with such meticulous care and comprehensive detail. Your willingness to explore its complexities makes this content indispensable.