What dice style should you make?
There are multiple dice styles. They all fall into one of seven types based on their shape. You can tell what they are by the number included in the type.
For example, D4 = 4-sided die
(And I had no idea the singular of dice is die. That is until spell check blew up with all the times I wrote di.)
Each die has a unique shape. Plus, the numbers on the faces vary.
• D4: The faces have numbers one to four. When you roll the die, the number facing up to the point is the number you play.
• D6: The sides have numbers one through six. The sides will have numerals or dots representing each number. This is the most common dice shape for board games.
• D8: The sides have numbers one through eight. It’s a ‘double pyramid’ shape. It’s like two pyramids glued together at their bases.
• D10: The faces have numbers zero through nine or one through ten. The odd integers on the faces meet on one side by a point, and the even integers meet on the opposite point faces. It’s in the shape of a pentagonal trapezohedron. No, I didn’t know that. I googled it. 🤣
• D12: Numbers one through twelve decorate the faces. Each face is a pentagon shape.
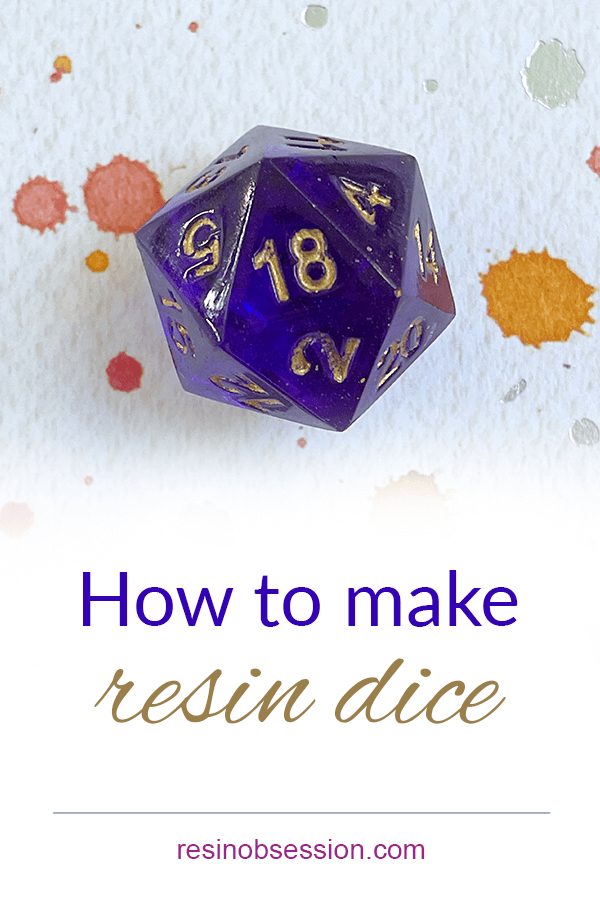
• D20: The sides have numbers one through twenty. Each face is a triangular shape. In my opinion, this dice shape is the most sparkly.
• D100: This die has ten sides, numbered 1 through 10 or multiples of 10 through 90.
All seven of these dice styles are used in Dungeons and Dragons games. Otherwise, if you simply want to learn how to make dice for your favorite board game, a D6 is your best choice.
Now that you’ve picked out the style, you need dice molds.
The only dice molds I recommend are the ones we sell.
They are hand-poured, clear silicone dice molds made by the husband and wife team of House of Molds. Now, these molds aren’t cheap. But here’s why I love them:
1. They’re made to last. The poured silicone ensures they won’t misshape over time or with repeated use.
2. Getting even dice is easy. Because these molds are made with poured silicone, they won’t distort or change shape as pressed molds can. That means you can touch and hold your molds, even while curing, without worrying they’ll squish and change shape.
3. You can use almost anything you want in these molds. Besides epoxy resin, you can use polyester and polyurethane resins, concrete, clay, and more.
You can shop them all here:
Get your resin
Here’s the most critical step of how to make resin dice. I’m guessing you want to make something hard, durable, and bubble-free. Here’s where I see people go wrong.
They choose what they think is the best resin for making dice instead of the best resin for making dice in molds.
The mold part of this equation is key. Not all resins work in molds. It’s why sometimes you get tiny microbubbles and dentable dice. You didn’t do anything wrong. It’s just that you used the wrong resin.
That’s why for dice molds, the Resin Obsession super clear craft resin is the perfect choice. It cures hard, durable, shiny, and clear. Plus, you can demold it as soon as twelve hours after pouring it into your mold.
You’ve got your resin and molds. What else do you need to make resin dice?
The other resin supplies you’ll need are:
Mixing cups
Resin colors
Packing tape
Stirring sticks
Plastic pipettes
Safety gloves
Silicone mat or wax paper (to protect your table)
Files and sandpaper to finish edges
Acrylic paint or paint pen
Step 1: Prep the mold
These dice molds have small splits down each side to help you demold. If you didn’t have the cuts, you wouldn’t be able to get the cured resin out. To ensure your mixed resin doesn’t leak out, wrap packing tape around the mold to keep the cut edges in place.
Step 2: Measure and mix the resin
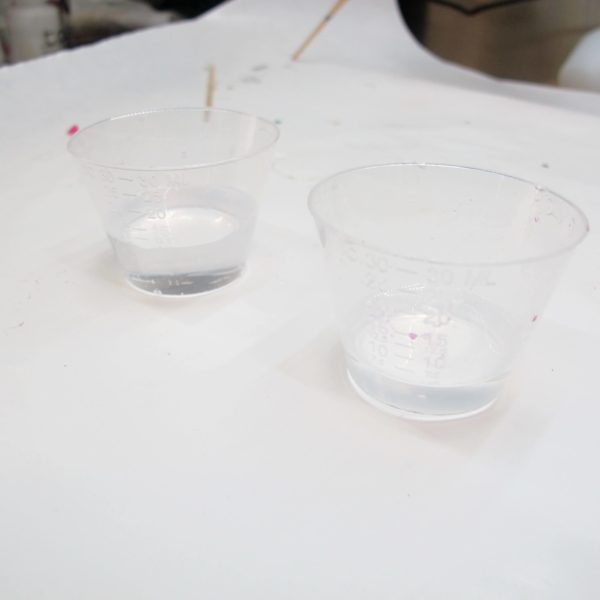
The super clear resin mixes two parts A to one part B. For this D20 mold, you’ll need to mix ½ ounce (total) of resin. That breaks down into 10 cc part A and 5 cc part B.
💡 Pro tip: You don’t have to guess how much resin you need. Take the finished die measurements and input them into our resin calculator. That will tell you how much to mix.
Step 3: Add color
Choose a resin color you like. If you’re using the Resin Obsession epoxy pigments, it won’t take much to color your resin. The pigment is super concentrated.
You can see how a dot of color at the end of a toothpick.
It colored the clear resin very intensely.
Step 4: Pour into the mold
Squeeze the sides of your mixing cup together to form a spout. Then, carefully pour your casting resin into the opening at the top of the mold.
💡 Pro tip: Go slowly and have patience. The hole at the top of the mold acts as a sink drain. Flood it too fast, and you’ll overflow and make a mess.
You can also use pipettes to drop resin into the mold. But, be careful that you don’t introduce air bubbles too.
Overfill the mold into the stem.
Step 5: Check for bubbles
If you’re multi-tasking, come back to me. This is where you can help yourself out and avoid divots and voids in your resin dice.
Over the next few minutes, bubbles will rise to the opening in the mold. The dice mold opening is where they like to catch. One of the ways I force them to come out is to gently squeeze the mold, pushing them out of the opening. Have your heat gun ready to pop the bubbles as this happens.
You’ll need to do this a couple more times over the next 10 to 15 minutes.
💡 Pro tip: Finish by making sure the stem (also known as a sprue) is filled with resin. Then, should more bubbles rise, there is resin to fill the void.
Let your resin die cure for 12 to 24 hours.
Step 6: Demold
View this post on Instagram
This is the second-best part about how to make resin dice.
(The best part is coming up.)
Remove the tape and grab the resin stem. Then, remove your die from its silicone mold.
Step 7: Remove the stem
Pull or clip your stem from the end of the die. You may need to file or sand to get the edge smooth and even.
This is how the mold makers recommend removing that end:
Step 8: Highlight the numbers
So here’s my favorite part of how to make resin dice. It’s time to highlight the numbers.
Choose a color of acrylic paint or a paint pen, then add it to the sides.
Wipe off excess with a paper towel.
Try to contain your excitement while waiting for your resin dice to dry.
Pat yourself on the back. Not only did you just learn how to make resin dice, but you are a game night boss.
What if you need your dice in a hurry?
I’m so glad you asked. You can use quick-curing resin to have dice in under an hour.
Here’s how:
Ready to learn more resin basics?
Then you’ll want a copy of Resin Fundamentals. I wrote the PDF book with the beginner resin crafter in mind. Don’t waste your time and supplies on making something you wouldn’t show anyone. Instead, learn from MY mistakes. Buy the ebook now and get a download link in minutes.
Unpublished Blog Posts of Resin Obsession, LLC © 2023 Resin Obsession, LLC


This is a great guide! I’m looking forward to trying out the techniques.
Wow, this guide is incredibly detailed and helpful! I’ve been wanting to make my own resin dice for a while now, and this post has given me all the information I need to get started. Thanks for sharing your expertise with us!
I love this guide and want to make DnD dice! However, you mention using other materials, such as clay, with these molds. I’m in ceramics and wanted to know how you would suggest making DnD dice with clay and glazing fully. Thank you again for these molds and guide!
Making DnD dice with clay and glazing is a fantastic idea that combines creativity with your ceramics expertise! Here’s how you can approach this project:
1. Choose the Right Clay
Use a fine, smooth clay body (like porcelain or stoneware) for precise details.
Avoid overly groggy clay, as it might interfere with the crisp edges and numbers on the dice.
2. Create or Use Molds
Option 1: Pre-made silicone molds
Use high-quality dice molds for consistency. Press the clay gently into the mold, ensuring no air pockets.
Remove excess clay to create a flat back, then carefully unmold.
Option 2: Make Your Own Molds
Create master dice using plastic or resin dice.
Make a plaster or silicone mold to press your clay into.
3. Shaping and Detailing
After unmolding, refine the edges with a damp sponge or sculpting tools.
Use fine-point tools to ensure the numbers are clear and deep enough, as they may soften during firing.
Let the clay dry slowly to avoid warping.
4. Bisque Firing
Fire the dice in a kiln to a bisque temperature appropriate for your clay type.
This step will harden the clay but keep it porous for glazing.
5. Glazing
Use a small brush to carefully apply glaze inside the numbers for contrast.
Consider masking or waxing the flat surfaces to keep them unglazed for a matte vs. gloss effect, or glaze the entire piece for a shiny finish.
Transparent glazes can highlight the texture of the numbers while allowing the clay body to show through.
6. Glaze Firing
Fire the dice to the glaze’s recommended temperature. Ensure the dice are placed securely on a kiln shelf or use stilts to prevent glaze sticking to the shelf.
Watch for potential melting or pooling if using runny glazes.
7. Final Touches
After firing, you can fill in any numbers with paint or gold leaf for extra contrast.
Sand the edges lightly if needed for smoothness.
Tips for Success
Experiment with glazes: Play with metallic, glossy, or speckled finishes for unique dice aesthetics.
Balance and precision: Ensure the dice are evenly shaped to prevent unfair rolling if you plan to use them for gameplay.
Test small batches first: This allows you to tweak your process before committing to a full set.
Making ceramic DnD dice allows for endless customization and gives them a handmade, magical charm. Have fun experimenting, and let me know how your dice turn out!
Brilliant guide. Thank you.