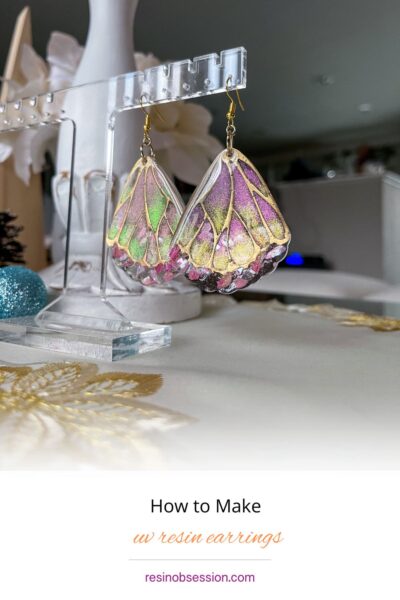
Hello, Crafty Creatures and DIY Divas! Get ready to embark on yet another adventure that will leave you bedazzled? Today, we’re diving headfirst into the sparkly world of UV resin earrings. That’s right – it’s time to create some ear candy that will turn heads and drop jaws. Let’s put on our crafting caps (they’re like thinking caps, but cuter) and get started on making some show-stopping earrings!
Step 1: Gather Your Magical Materials to Create Your Resin Earrings
- UV Resin: The clear hero of our story.
- Silicone Molds: Choose fun shapes like stars, hearts, butterflies or even tiny dinosaurs!
- UV Resin Light: Like the sun, but on your desk and without the SPF.
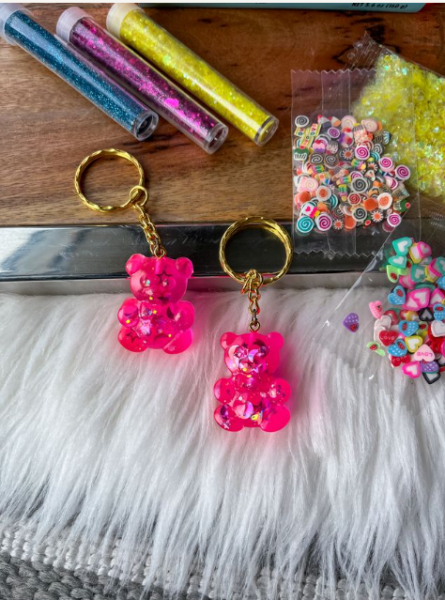
- Glitter and Colorants: Because everything’s better with a little sparkle.
- Earring Hooks and Jump Rings: The backbone of any earring.
- Embellishments: Tiny charms, dried flowers, or anything your heart desires.
- Resin Tool Set: Your trusty sidekicks.
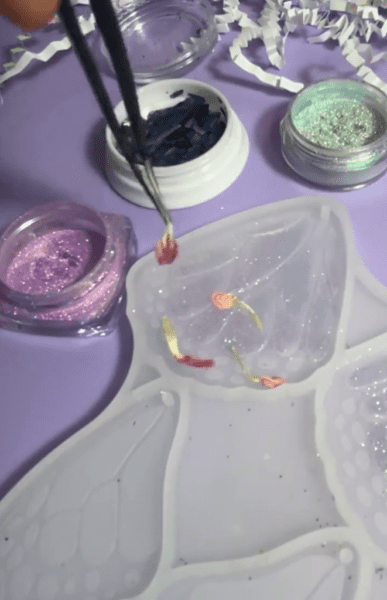
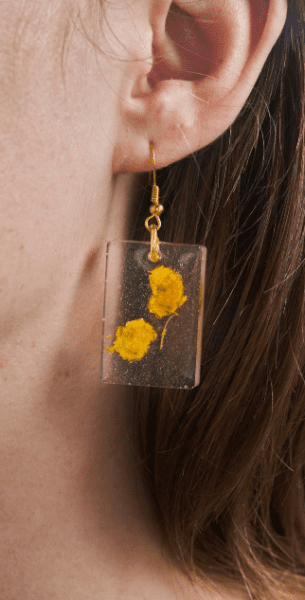
Step 2: Add your Flowers to Your Resin Earrings
Add a Little Extra: Place your chosen embellishments into the molds. If you’re looking to add dried flowers check out my article here on how to preserve flowers for resin! Arrange them artistically or haphazardly – chaos can be beautiful, too.
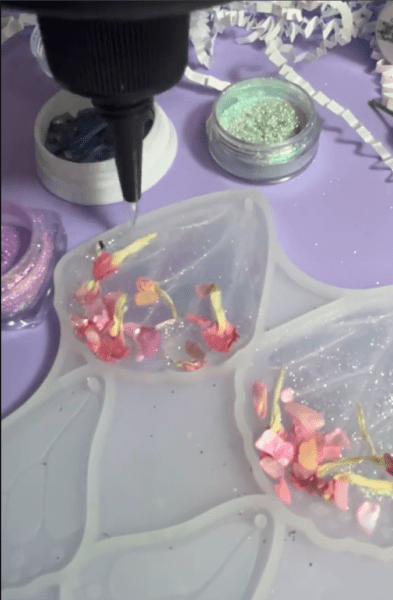
Step 3: Pour your Resin
Steady Hands: Carefully add the uv resin into the molds. If it’s your first rodeo, remember – practice makes perfect. If you overpour, just tell everyone it was on purpose.
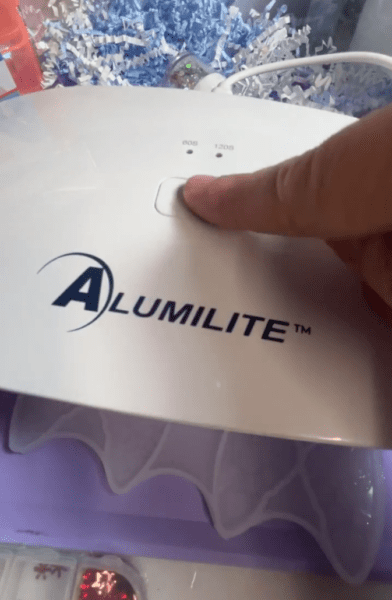
Step 4: Sunbath your Resin (Artificially, of Course)
UV Magic: Expose the molds to the UV lamp. This isn’t a tanning session, so keep it brief. Depending on your lamp, this can take 2-5 minutes. Watch as the goop magically solidifies!

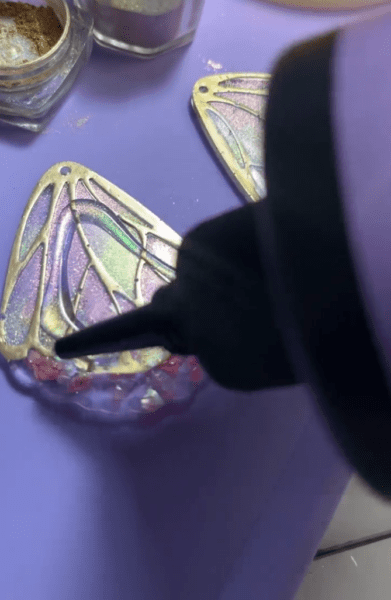
Step 5: Add Colors to your Earrings
Glitter Goes with Everything: Remove your resin earrings from the mold once cured. Paint on some of your favorite mellitic pigments to give it that extra sparkle! Add one final layer of uv resin to seal the deal!

Step 6: Assemble your Resin Earrings
Assembly Time: Attach jump rings and earring hooks. Tweezers might come in handy here unless you’ve got the nimbleness of a cat.
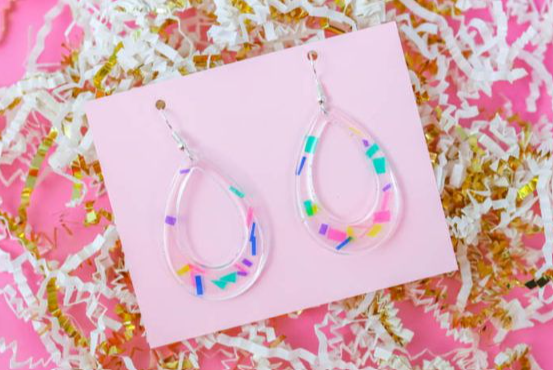
Step 7: The Grand Finale
Wear and Wow: Put on your new earrings, check yourself out in the mirror, and do a little happy dance. You’ve created something unique and fabulous!

Extra Tips for Creating more Resin Earrings:
- Test First: Experiment with small amounts of resin before committing.
- Stay Safe: Wear gloves and work in a well-ventilated area to keep the crafting fun and fume-free.
- Get Inspired: Mix up your designs with different colors and inclusions. The world of UV resin is your oyster!
Creating UV resin earrings isn’t just about making jewelry; it’s about crafting little pieces of wearable art. Each pair is a statement, a conversation starter, and a piece of you. So go forth, craft with gusto, and let your earrings do the talking at your next social gathering (or video call)! Shine on, you crafty diamond! 🌟👂✨
Show us your crafty creative earrings! Tag us on Instagram @resinobsession! We love to see what you come up with!