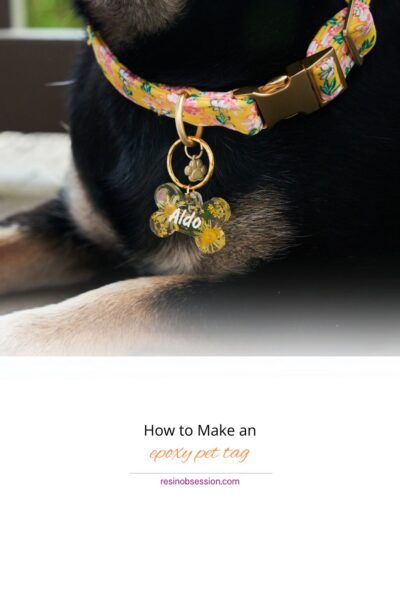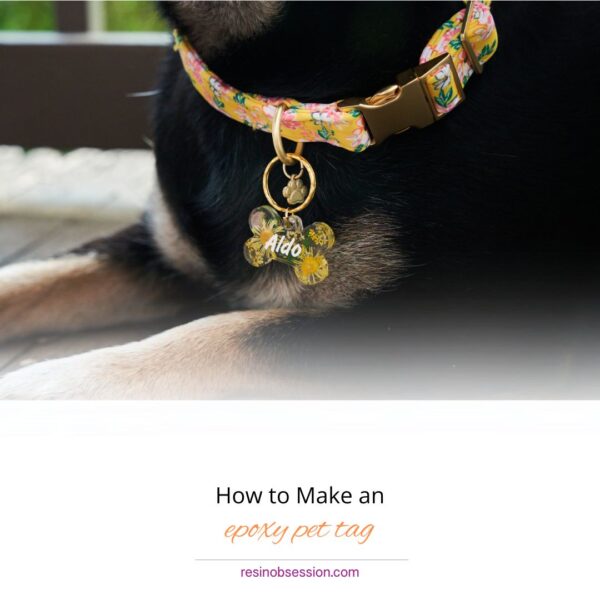
Hello, Pet Lovers and Crafting Enthusiasts! Are you ready to make your furry friend’s accessory game as strong as their bark? Today, we’re showing you how to create a personalized, epoxy pet tag. Whether your pup is a fashionista or a rugged adventurer, a custom resin pet tag will have them strutting their stuff in style. Grab your resin supplies and let’s get crafting!
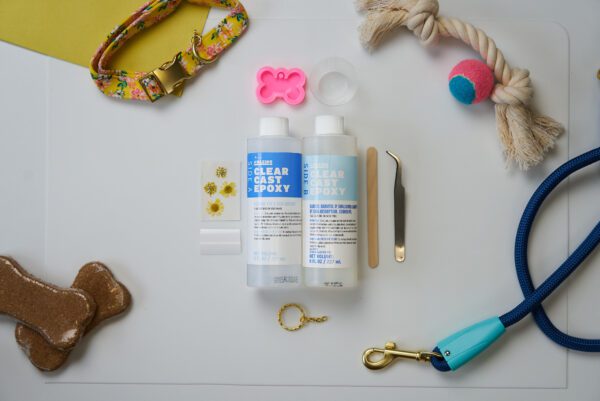
What You’ll Need: The Paw-fect Toolkit
- Epoxy Resin and Hardener: The magic duo for a shiny, durable finish.
- Silicone Mold: Dog tag shapes—bone, heart, or paw print, pick your fave!
- Mixing Cups and Sticks: For stirring up your resin concoction.
- Protective Gear: Gloves and apron to keep things clean and safe.
- Alcohol Inks, Mica Powders, and Glitters: For that extra sparkle and color.
- Stickers, Charms, and Decals: Personalize with your pup’s name and contact info.
- Keychain Rings or Split Rings: To attach the tag to your dog’s collar.
- Heat Gun or Torch: To zap those pesky bubbles.
- Drill or Dremel: For adding a hole to attach the tag.
Step 1: Prep Your Craft Space
Start by setting up your crafting zone. Cover your workspace with to catch any spills. Put on your gloves and apron—resin can be sticky, but we like our clothes clean!
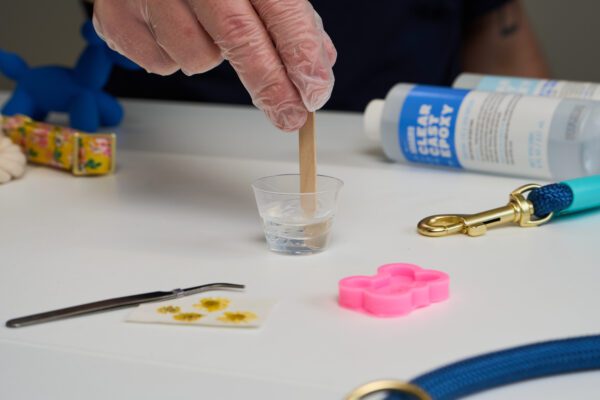
Step 2: Mix your Resin
Measure out equal parts of epoxy resin and hardener according to the instructions. Pour them into a mixing cup and stir slowly for about 3-5 minutes. Stirring gently helps avoid introducing bubbles, and who doesn’t love a smooth finish?
Step 3: Add Some Color and Sparkle
Divide your mixed resin into smaller cups if you’re using multiple colors. Add alcohol inks, mica powders, or glitters to each cup and stir gently. This is where you let your creativity shine—go for bright, bold colors, or a glittery sparkle that’ll catch the light!
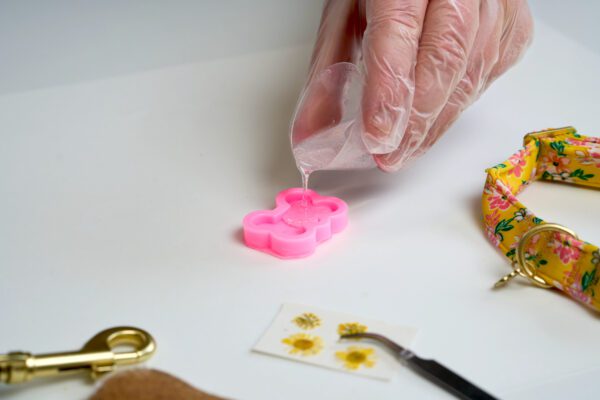
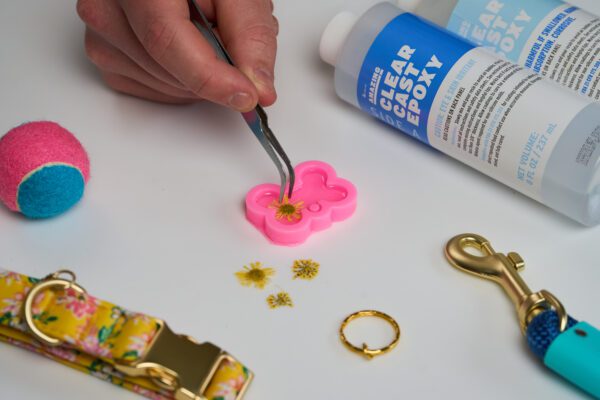
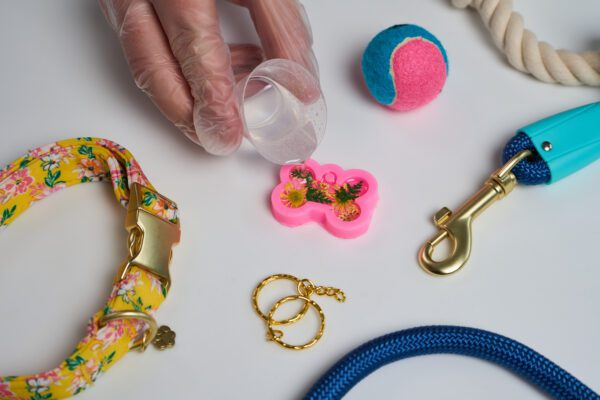
Step 4: Pour your Epoxy Resin
Pour your colorful resin into the silicone molds. Use a stir stick to help spread it evenly. While the resin is still wet, place your stickers, charms, or decals on the surface. Use your heat gun to pop any unwanted bubbles.
Step 5: Let the Epoxy Pet Tag Cure
Leave your resin dog tags to cure around 24 hours. This is the hardest part—waiting! But patience is a virtue, and your pup’s tag will be worth the wait.
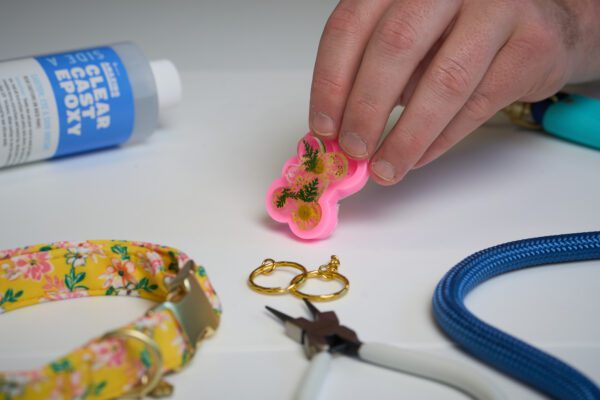
Step 6: Your Pet Tag is Ready
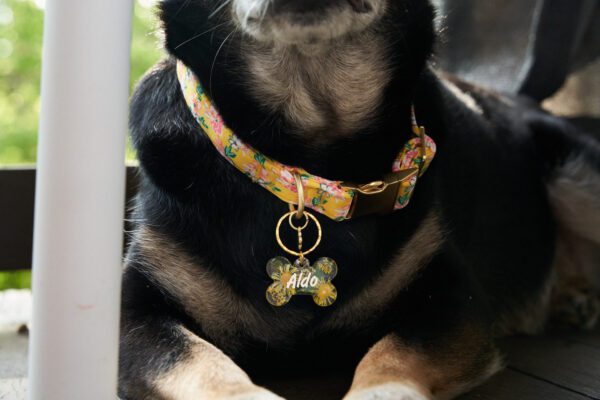
Once the resin is fully cured, gently pop your tags out of the molds. Use a drill or Dremel to add a hole at the top of the tag. Attach a keychain ring or split ring, and voila! Your custom resin dog tag is ready to adorn your furry friend’s collar.
Bonus Tips for Paw-some Epoxy Pet Tags:
- Layer Up: For a more intricate design, consider adding multiple layers of resin and color.
- Experiment with Techniques: Try marbling, swirls, or even embedding tiny objects.
- Stay Safe: Always work in a well-ventilated area and follow all safety instructions on your resin products.
- Take care of your Molds: Care and Clean your silicone molds for future use!
Creating your own resin dog tag is a fun, rewarding project that adds a personal touch to your pet’s accessories. Every wag of your dog’s tail will be a testament to your crafty prowess. So grab your supplies, let your imagination run wild, and make a dog tag that’s as unique and lovable as your furry friend. Happy crafting! 🐾✨🎨