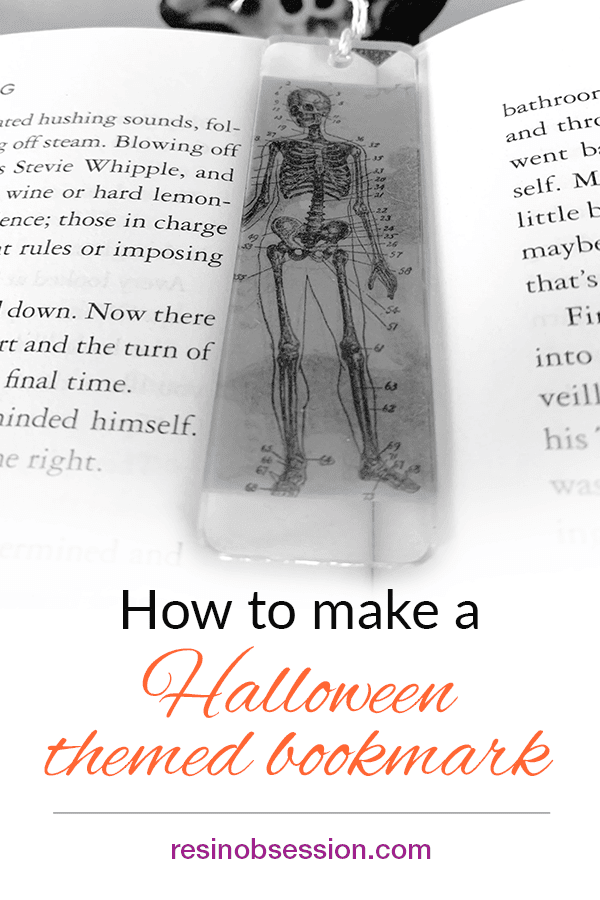
Are you dying to have some fun this Halloween? (Dying and Halloween — get it??) Well, this tutorial will lift your Halloween spirit! I’m showing you how to make a boo-tiful bookmark with four simple things: resin, paper, string, and charms.
Supplies needed:
Resin Obsession Super Clear Resin
Resin Bookmark Mold
Embossing gun
String
Charm(s)
Paper
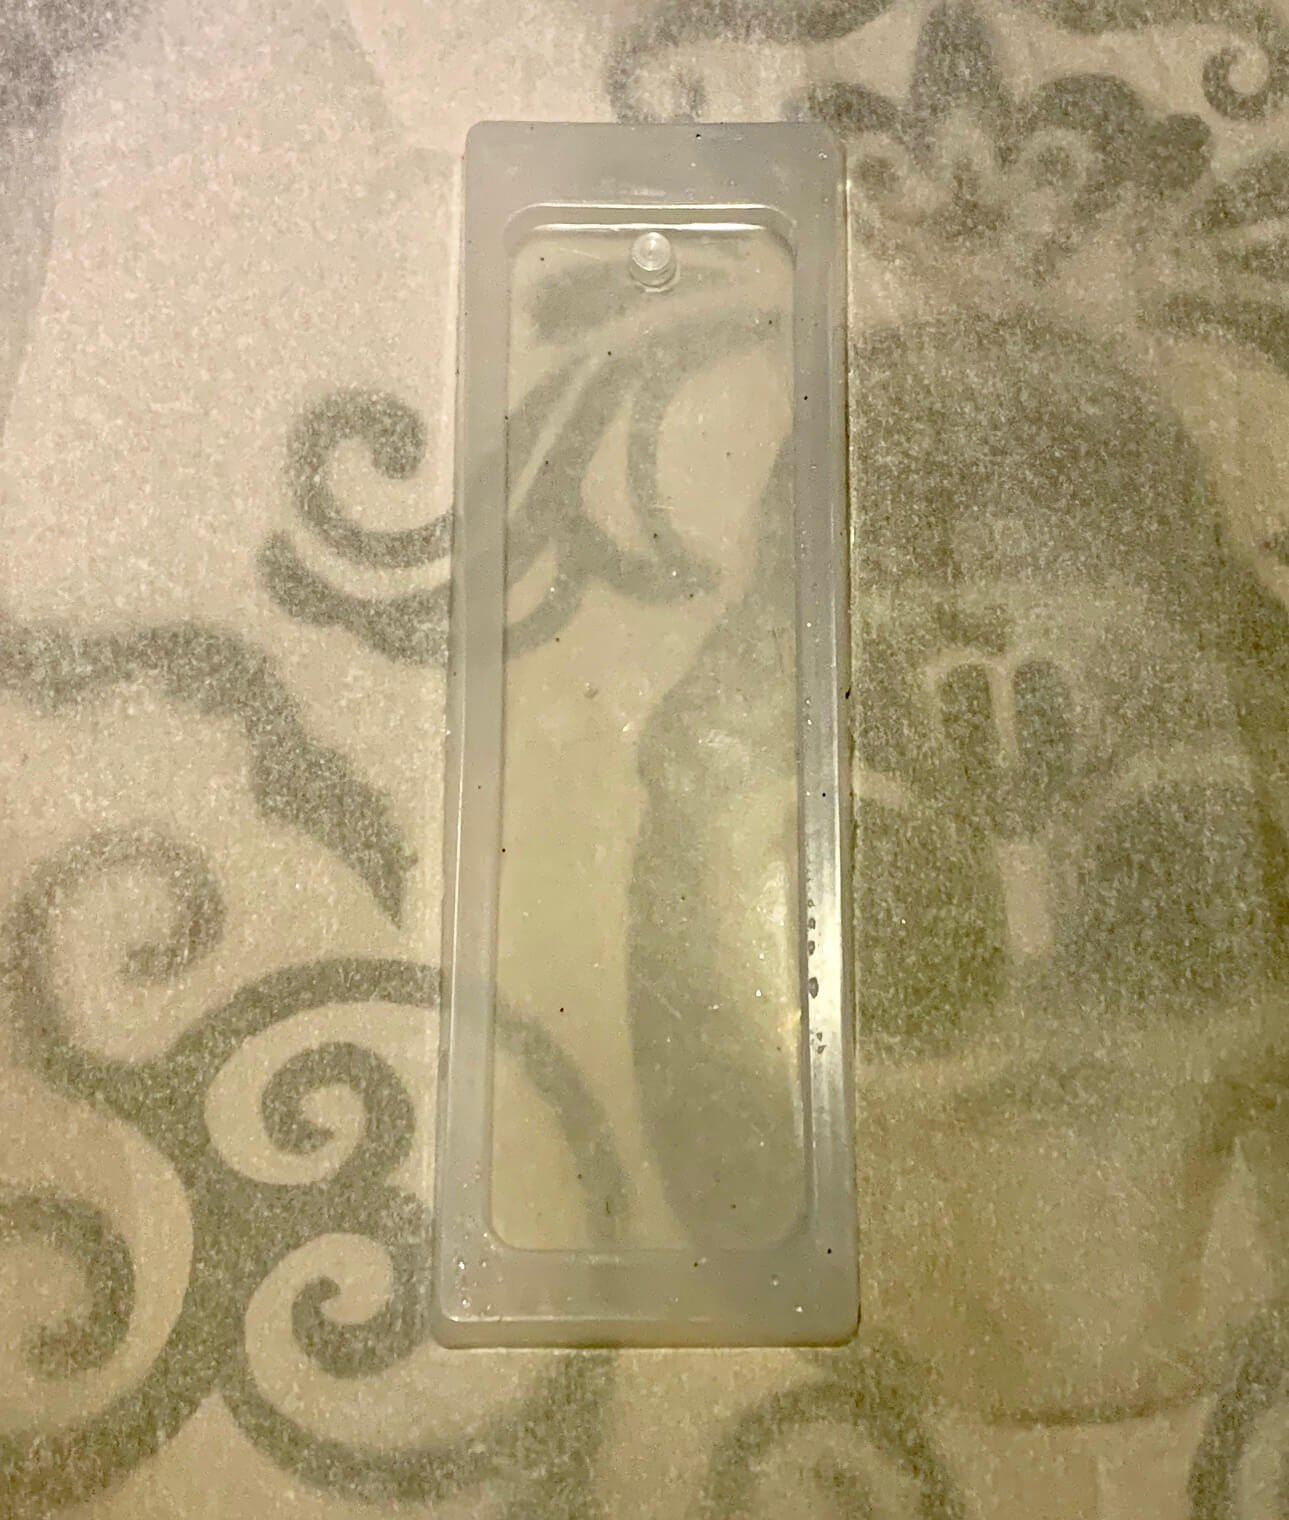
Step 1: Get your mold
Here is the resin bookmark mold I used.
Step 2: Prepare the paper
This project will be a skeleton-themed bookmark using an image from a package of Halloween craft paper.
Then, decide if you want your paper to look wet or dry.
If you want to see what happens to your paper if you don’t seal it before putting it in resin, take a sample of the paper and run it under water. What you see is what you’ll get when you put it in resin.
Here is an example. You can see the wet part (bottom) vs. the dry part (top). I liked the damp paper because it became darker and more transparent.
I used my paper cutter to cut the piece to size the paper to the mold. Scissors would do as well.
Make sure your papers fit the resin bookmark mold before you mix your epoxy.
Step 3: Time to add resin
I mixed my resin and poured it in slowly. These molds have just the right amount of depth for a bookmark, not too thick or thin, but be careful not to overpour.
The super clear resin also works great for making a resin bookmark because it won’t go soft after demolding.
Using an embossing gun, I blew out the bubbles.

Step 4: Resin demolding
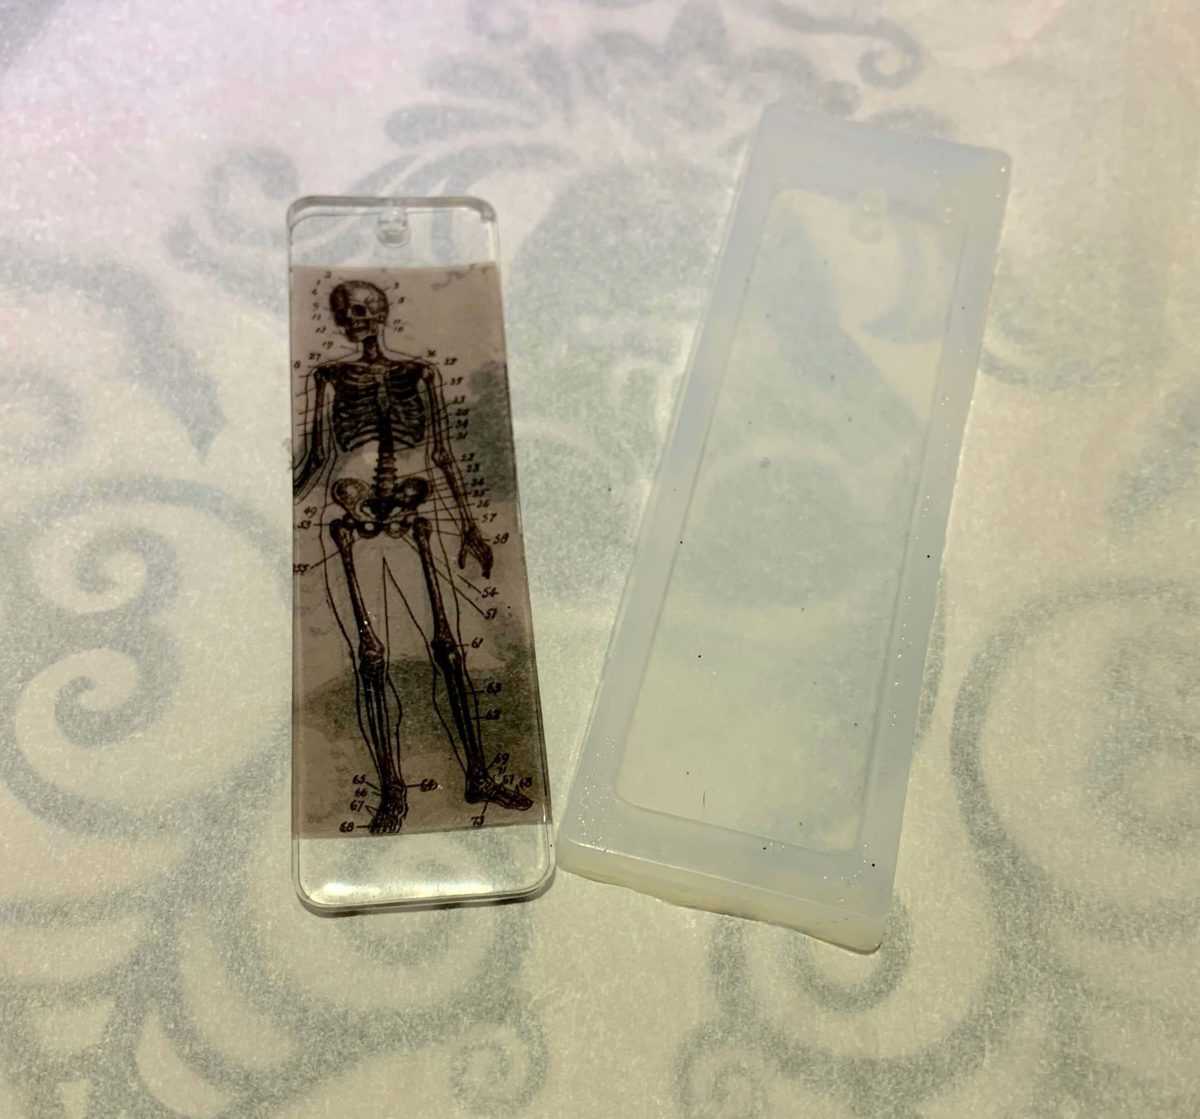
Twelve hours later, the resin bookmark was fully cured, and I took it out of the mold.
You can see some resin is missing on the back. This is because I should have poured some resin into the mold before putting the paper in. I also could have dipped it in resin before putting it into the mold. Oops! But easily fixed. Next time I pour resin for another project, I will use a toothpick to cover it up.
Step 5: Finishing
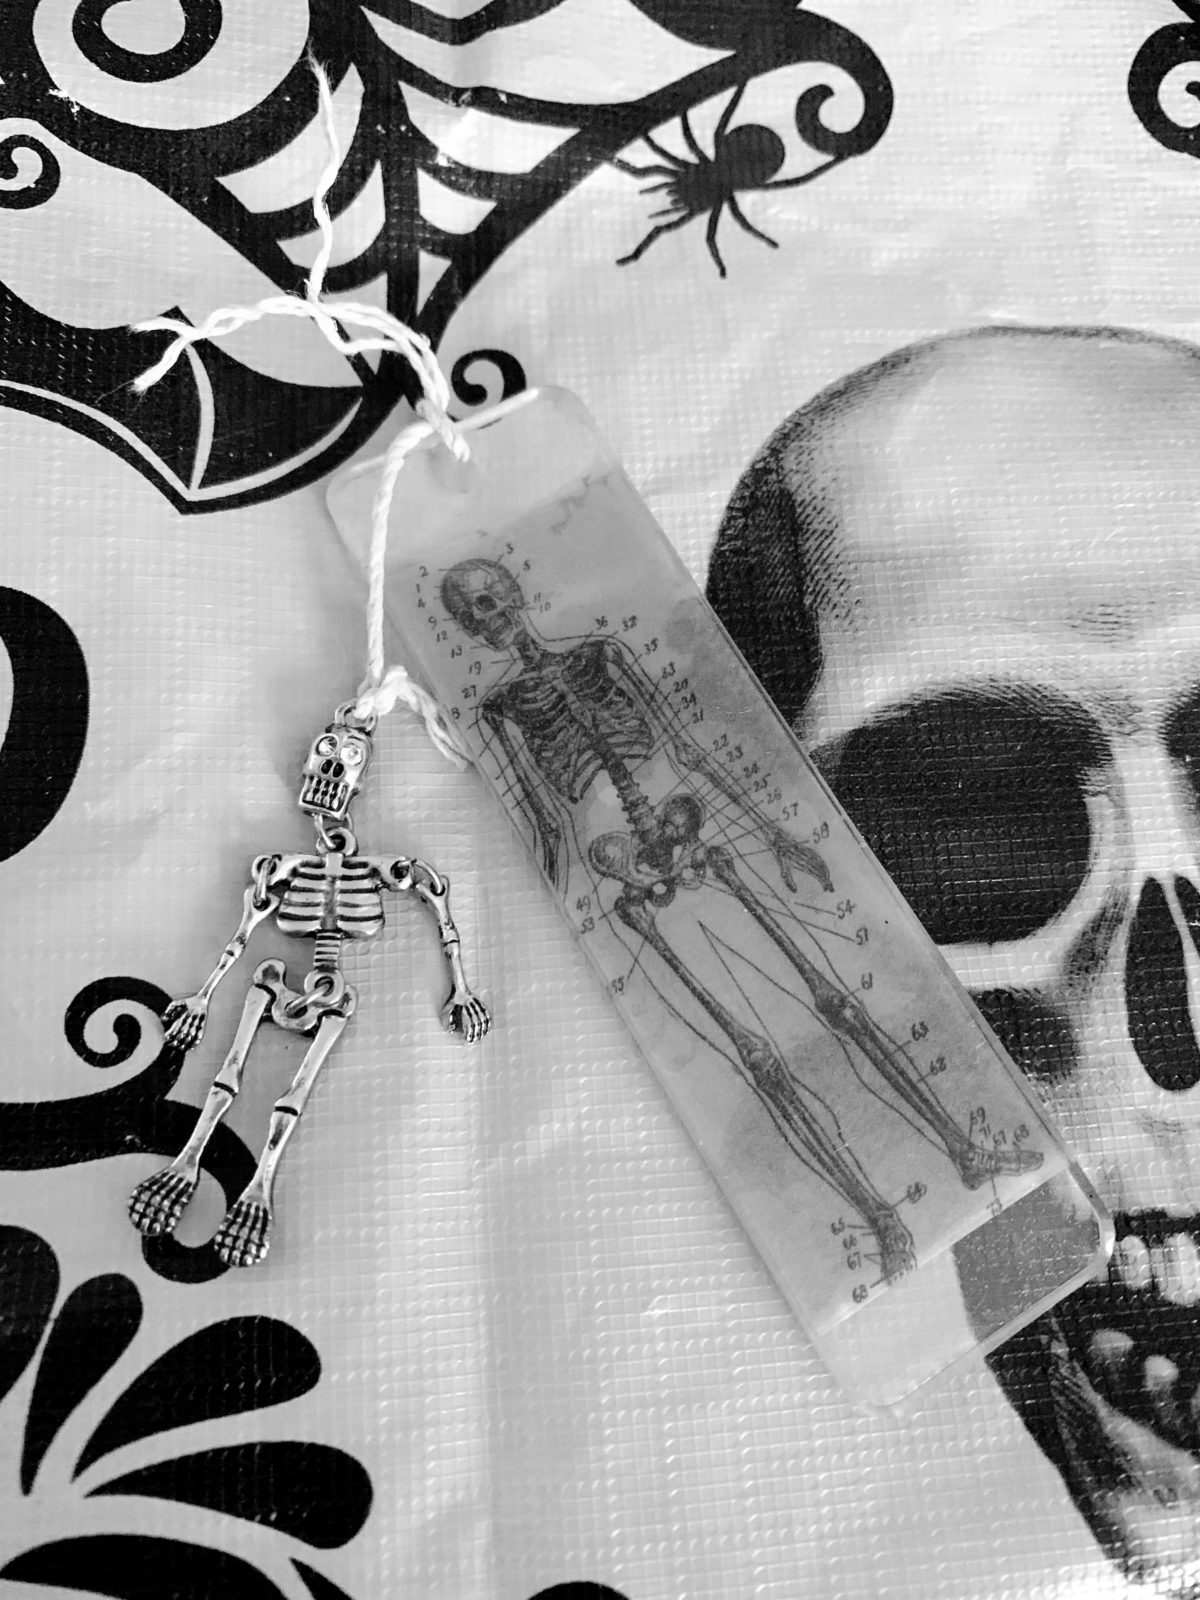
I raided my bead box and found some skeleton-themed charms. Not hard — I love Halloween and have a ton.
If Halloween isn’t your thing, you could easily make resin bookmarks for other holidays.
Want more help getting started with resin?
Get a copy of the ebook Resin Fundamentals. The PDF book was written for beginners to quickly understand the essential details for making beautiful resin crafts.
Originally written by Penny Reid
Unpublished Blog Posts of Resin Obsession, LLC © 2023 Resin Obsession, LLC


You don’t detail the mold at all. Where do I get one? How do I make one? To me, that is the most important part!
Hi Robert, the mold is available in our store. You can find it here: https://shop.resinobsession.com/products/bookmark-clear-silicone-mold-two-sizes
Hi, Katherine! I just scan the image and reduce it slightly, print it , and treat it like you did in the butterfly wings tutorial. I use plain typing paper or vellum, am considering making Christmas themed ones to add to gift packages.
I love this. I would like to raid your charm box. Whoohoo !!
girl you got great taste in charms…
This would be so cute with any book you might give ..
Fantastic! Love all your projects!