🏖 To a white sand beach.
🌊 With blue waters.
🕶 Plus, a gentle, salty breeze.
🍹 And a fruity drink with a paper umbrella.
But I didn’t get the resin idea from a beach holiday. It was from a grocery store zombie shopping trip.
What’s that?
It’s when you go to the grocery store and wander around like a zombie who’s three degrees of hangry.
As I stumbled by the seafood counter, I saw these:
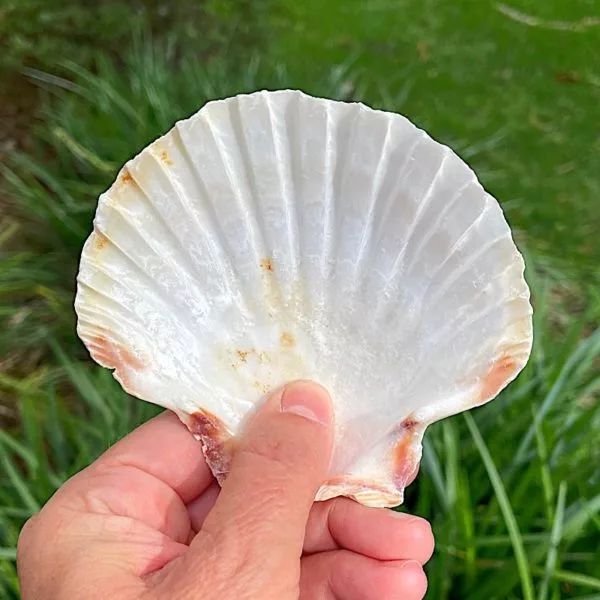
Scallop shells stuffed with bay scallops and cornbread stuffing.
Lame brain off. Resin brain on.
I can feed my family and make something with resin.
💡 Pro tip: If your grocery store doesn’t have anything like this, there are some pretty large scallop shells on Etsy. But I don’t think the Etsy ones come with dinner.
Here’s your supply list to make a shell trinket dish:
Large scallop shells
Beach sand
Small shells
Resin Obsession super clear resin for crafts
Resin Obsession opaque white epoxy color pigment
Mixing cups
Stir sticks
Gloves
Heat tool
Optional:
Glitter
Step 1: Secure the shells
Because the shells don’t have a flat back, they will roll around your crafting table.
Prop them up so you’re resin cures evenly. Like side-to-side and front-to-back evenly.
Step 2: Mix resin
Mix 1 ounce of super clear resin. This resin works great for craft projects because it releases bubbles easily. You won’t have to stress over getting them out before the resin cures.
Step 3: Add sand
Add about ½ a teaspoon of sand to the mixed resin. Stir it around to release bubbles.
Step 4: Pour
Add the mixed resin to the open shell. Start at the deep end and let the epoxy resin flow forward.
Add more sand and clear epoxy as you need to get the shell about 1/3 to ½ full.
[OPTIONAL] Step 5: Add glitter
If you want to give your shell trinket dish a smidge of sparkle, sprinkle on the tiniest amount of glitter. It will provide a subtle shimmer to the resin.
Check for bubbles before letting the resin cure for a day.
Step 6: Mix more resin
Mix another ounce of resin. This time split it into two cups – 1/3 ounce in one and 2/3 ounce in another.
Add opaque white pigment to the smaller resin amount. Mix well.
Step 7: Add clear epoxy to the shells
Pour a layer of clear resin over the layer already in your shell. Make sure it covers everything you added yesterday and a smidge more.
Step 8: Add white resin
Dab white resin in a line across the shell in a few spots.
Step 9: Blow with a heat gun
Use your heat gun to blow the white resin across the clear resin. This is what creates cells that look like ocean waves. If you want more foamy waves, add more white resin.
Step 10: Finish with a few extra shells
Add a few extra shells at the resin edge. This makes it look like your shells washed up on a beach.
Let completely dry.
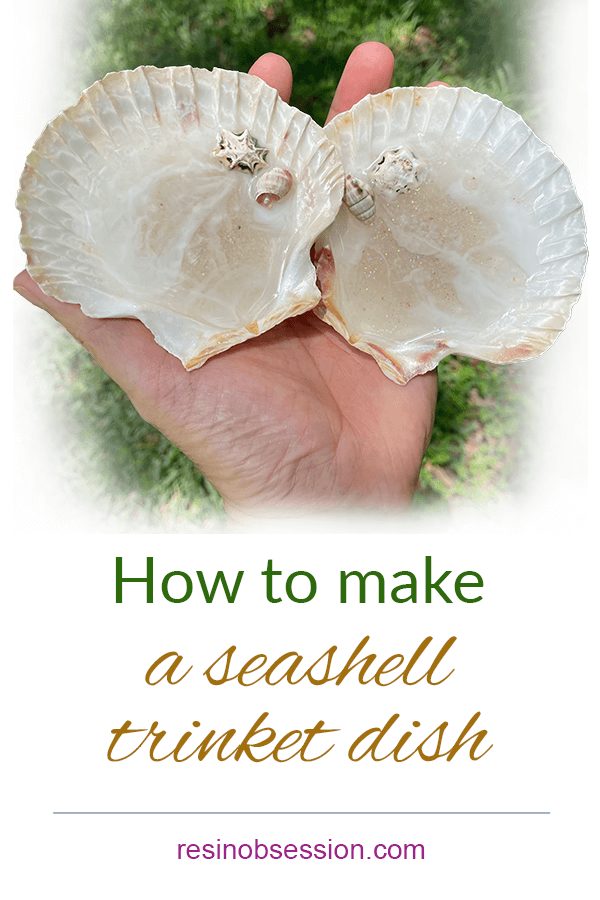
Tada! You just learned how to make a shell trinket dish with epoxy resin.
I love how these are so cute and can fit so many uses. This dish is the perfect size to put on a desk to hold paper clips.
I’m putting mine on a windowsill to hold my resin rings while washing dishes.
The shell trinket dish on the right has a tiny bit of glitter. They both look great, but I love how the glitter picks up the light more.
Some other design ideas for making this shell trinket dish could be:
1. Color the resin with transparent ocean colors instead of keeping the resin clear.
2. Paint the shell a different color before adding resin.
3. Add glitter paint or glue to the edge of the shell before adding resin.
Are you looking for more resin inspiration?
Then you’ll want a copy of Ten Epoxy Crafts. You’ll get resin ideas of art and crafts to keep or sell. Buy the ebook now and get an email download link in minutes.
Unpublished Blog Posts of Resin Obsession, LLC © 2023 Resin Obsession, LLC


Do you remove the resin from the shells after it is cured? If so how?
Hi Kathy, you leave the resin in the shells.